
Lawn
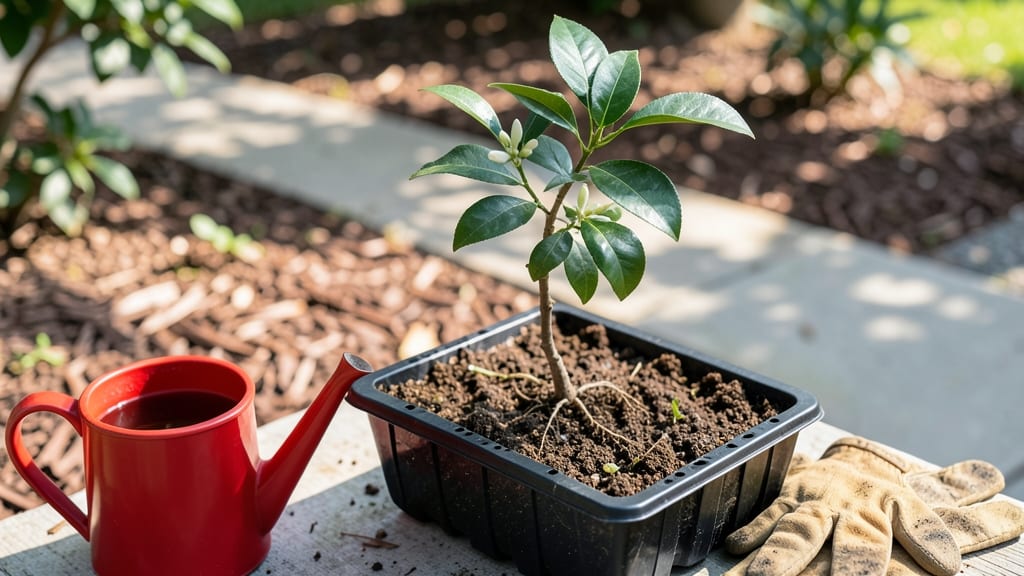
Watching orange seed growth feels like magic—especially when you skip the soil entirely. 🌱 I’ve watched tiny seeds sprout into sturdy seedlings in just 30 days using a method so simple, it’s foolproof. No greenhouse, no fancy equipment—just patience and a few household items.
The trick is moisture and warmth, not dirt. Seeds need consistent dampness to wake up, and a warm spot (like on top of the fridge) speeds things along. Most people overcomplicate this, but the real secret is keeping things steady—no drying out, no flooding.
You’ll see tiny roots break through the shell in about a week, then leaves within 10-14 days. By month two, you’ll have a 6-inch-tall seedling ready for soil, and with proper care, it could produce fruit in 3-5 years.
The best part? Every step is beginner-friendly, and the payoff is watching something you grew from scratch thrive. Works for any citrus seed—mandarins, lemons, even grapefruit. Let’s get those seeds sprouting!
📚 In This Guide
- What you need
- Instructions
- Tips and common mistakes
- Wrapping up and next steps
What you need
- ● Orange seeds: 3–5 fresh, plump seeds (harvested from organic oranges for best results). Pro tip: Rinse seeds thoroughly to remove pulp before planting!
- ● Paper towels or coffee filters: 2–3 sheets (for the germination phase).
- ● Plastic bag or airtight container: 1 (to create humidity).
- ● Spray bottle: 1 (with water for misting).
- ● Clear plastic cup or jar: 1 (8–12 oz, for transplanting seedlings).
- ● Well-draining potting mix: 1 small bag (or coconut coir for a soil-free option).
- ● Small pot or container: 1 (with drainage holes, 4–6 inches in diameter).
- ● Grow lights or sunny windowsill: Access to indirect sunlight (6+ hours/day) or a grow light setup.
- ● Seedling heat mat: 1 (to speed up germination in cooler climates).
- ● Humidity dome or cloche: 1 (to maintain moisture during early growth).
- ● Fertilizer (balanced, water-soluble): 1 small bottle (diluted to half-strength for seedlings).
- ● Pruning shears: 1 (for trimming leggy seedlings later).
- ● Label markers: 1–2 (to track seedling progress).
Step-by-step instructions for germinating orange seeds without soil
Here's how to coax those tiny orange seeds into sprouts in just 30 days—no dirt required.
🌱 Step 1: Select and Prepare the Seeds
Choose fresh, plump orange seeds—they germinate best when fully mature. Remove them from the fruit by slicing the orange in half and scooping out the segments. Rinse the seeds thoroughly to remove any pulp residue, which can rot during germination.
Place the seeds in a bowl of lukewarm water for 24 hours to soften their hard outer coating. This step drastically improves germination rates by breaking dormancy. After soaking, gently rub the seeds between your fingers to remove any remaining membrane—this ensures they’ll absorb moisture efficiently.
I like to spread them on a paper towel to dry slightly before planting. This prevents mold from forming when you place them in the germination medium. The goal is damp, not dripping wet.
💧 Step 2: Set Up the Germination Station
Line a shallow tray with a damp paper towel—this will hold the seeds in place while they sprout. Arrange the seeds about 1 inch apart in a single layer, ensuring they don’t overlap. Overcrowding leads to competition for moisture and stunted growth.
Cover the tray with another damp paper towel, then place it inside a clear plastic bag or under a glass lid. This creates a humid microclimate that mimics the tropical conditions oranges love. Seal it loosely so air can circulate—condensation is good, but a soggy environment invites mold.
Place the tray in a warm spot, ideally between 70-80°F. A seedling heat mat works wonders if your home runs cooler. Check daily for moisture—spritz the towels with water if they feel dry to the touch, but avoid soaking them.
⏰ Step 3: Monitor and Transplant Sprouts
Germination typically occurs within 7-14 days, though some seeds may take up to 30 days—patience is key. You’ll see the first sign of life when a tiny white root emerges, followed by a curled sprout. Once the sprout reaches about 1 inch tall, it’s ready for its next phase.
Carefully transfer each sprout to a small pot filled with a light, airy seed-starting mix. Use a spoon to create a hole just deep enough to cover the roots but leave the sprout above soil level. Gently press the soil around the base to secure it without compacting.
Place the pots under grow lights or in a sunny window, ensuring they get 6-8 hours of indirect light daily. Avoid direct sun at this stage—young seedlings can scorch easily. Water lightly from the bottom to encourage strong root development.
☀️ Step 4: Transition to Soil and Light
After 2-3 weeks in the seed-starting mix, the seedlings will develop their first true leaves (the second set after the initial cotyledons). This is your cue to gradually introduce them to more sunlight. Start with 2-3 hours of direct morning sun daily, then increase exposure over 7-10 days.
When the seedlings reach 4-6 inches tall and have 4-5 true leaves, they’re ready for transplanting into individual pots or the garden. Harden them off by placing them outside in a shaded area for 1 hour the first day, then gradually increase their time outdoors over 1 week.
Real talk: Orange trees grow slowly, so don’t rush this process. With consistent care, you’ll have a thriving citrus sapling in just a few months—ready to grace your garden with fragrant blossoms and (eventually) fruit.
Tips & tricks for stress-free orange seed germination
Here's what nobody tells you about getting those stubborn orange seeds to sprout reliably—these tricks cut the guesswork and boost success rates dramatically.
Seed Selection Matters: The 24-hour soak in lukewarm water is non-negotiable for breaking dormancy, but here's the secret: choose seeds that sink immediately when placed in water. Floating seeds are often immature or hollow. I've found that seeds from fully ripe oranges (deep orange color, no green patches) germinate most consistently. Pro tip: If you're using multiple oranges, test 2-3 seeds first to gauge germination potential before committing to the full batch.
Humidity Control: That plastic bag or glass lid creates the perfect humid environment, but watch for condensation buildup—it should look like the inside of a greenhouse, not a rainforest. If you notice water droplets forming on the sides, prop the lid slightly open to allow airflow. I've had entire trays of seeds develop mold because of excessive moisture. The goal is 80-90% humidity, not 100%. A simple spray bottle works better than soaking the towels if you notice them getting too wet.
Light Exposure Timing: The 6-8 hours of indirect light during the seedling stage is critical, but don't overlook the quality. South-facing windows provide the best natural light, but if that's not an option, supplement with a basic LED grow light placed 6 inches above the seedlings. I've seen seedlings stretch painfully toward weak light sources—this condition, called etiolation, creates weak, leggy plants that struggle to support themselves. Rotate your trays daily for even growth.
Transplanting Technique: When those 1-inch sprouts are ready to move to soil, handle them like delicate glass ornaments. Use a spoon to gently lift each sprout by its roots rather than grabbing the stem—this prevents stem damage. I've created a tiny "well" in the seed-starting mix with my finger to cradle each sprout, then lightly pat the soil around it. This creates a natural support system that helps them establish roots more quickly. Water from the bottom for the first week to encourage downward root growth.
Pro Tips for Orange Seed Growth
- Here's what nobody tells you about getting those stubborn orange seeds to sprout reliably—these tricks cut the guessw...
- Seed Selection Matters: The 24-hour soak in lukewarm water is non-negotiable for breaking dormancy, but here's the se...
- Humidity Control: That plastic bag or glass lid creates the perfect humid environment, but watch for condensation bui...
Frequently asked questions
Got questions about growing orange seeds without soil?
You’re not alone! Here are answers to the most common queries—so you can dive into stress-free germination with confidence.
How long does it really take for orange seeds to germinate?
Most orange seeds sprout within 7 to 30 days when using the paper towel method. Patience is key—some varieties (like navel oranges) may take longer. Keep them in a warm, humid spot (around 70°F) and check daily for tiny green sprouts!
Do I need to soak orange seeds before planting?
Yes! Soaking seeds for 12–24 hours in warm water softens the hard shell, boosting germination rates. Skip this step, and you might wait weeks—or worse, never see sprouts. Pro tip: Use a paper towel to drain excess water and prevent mold.
Can I grow orange seeds in water instead of soil?
The paper towel method (or even a jar of water with a mesh lid) works great for early growth. Just ensure roots stay hydrated but not soggy. Once sprouts hit 2–3 inches, transplant them to soil or a hydroponic setup for stability.
What if my orange seeds won’t sprout?
Don’t panic! Common culprits include old seeds (use fresh ones), cold temps (keep them warm), or dampness (mold can kill seeds). Try scarifying (lightly nicking the seed coat) or using a rooting hormone for stubborn seeds.
Will orange seeds grow into fruit-bearing trees?
Most likely, no. Seeds from store-bought oranges often produce bitter, inedible fruit. For sweet oranges, try grafting or buying certified seeds from nurseries. If you’re just experimenting, enjoy the fun of watching a citrus tree grow—even if it’s just for the leaves!
Wrapping up and next steps
Growing orange seeds into thriving plants in just 30 days—without soil—is easier than you think! 🌱 Whether you’re a beginner or a green thumb, this stress-free method proves that patience and the right techniques can turn tiny seeds into vibrant seedlings.
Now that you’re armed with the materials and answers to common questions, it’s time to roll up your sleeves and watch nature’s magic unfold.
Ready to take the next step? Start by gathering your supplies, follow the simple steps, and soon you’ll be enjoying the satisfaction of homegrown citrus—or even sharing your newfound skills with fellow plant enthusiasts! 🌟