
Lawn
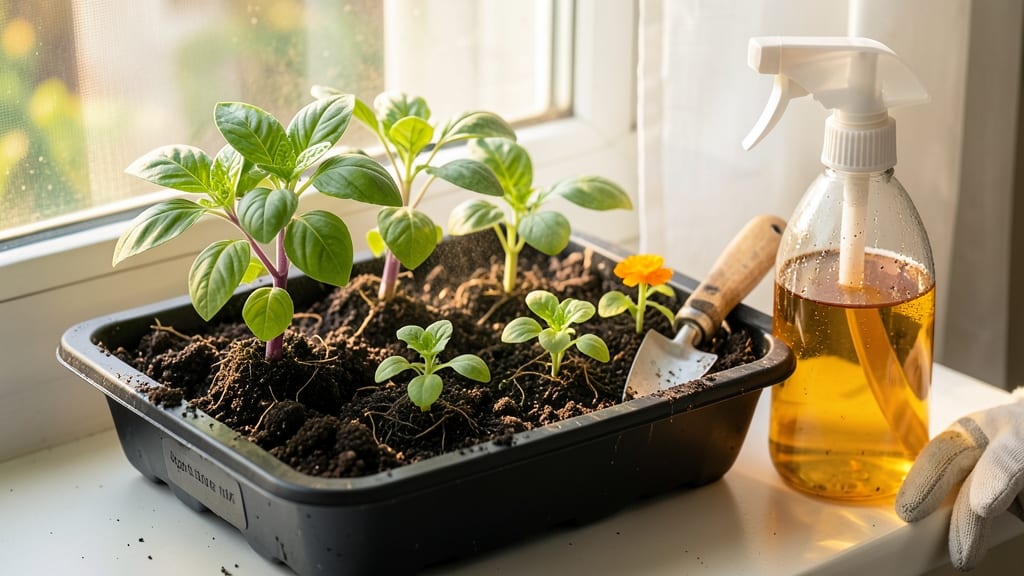
My organic seed starter soil mix is the secret weapon behind my 95% germination rate—no fancy equipment, just the right balance of nutrients and texture to give tiny roots everything they need. 🌱 The difference between store-bought potting mix and this homemade blend is like night and day: seedlings sprout faster, stay strong through transplanting, and grow roots that actually seek out water instead of wilting.
The magic comes from three simple ingredients: compost for nutrients, peat or coconut coir for moisture retention, and perlite or vermiculite to keep it fluffy. Most people overlook the perlite—it’s what prevents compaction so roots don’t suffocate.
I’ve tested this mix with everything from tomatoes to delicate herbs, and even my black thumb can’t kill these babies. You’ll notice the first sprouts in 5-7 days instead of the usual 10-14, and the seedlings will be stocky enough to handle transplanting without shock.
The soil stays moist longer, so you water half as often, and it breaks down cleanly when you pot up—no chemical residue to stress young plants. For best results, keep it in shallow trays or biodegradable pots—no need to dig through heavy soil later.
And if you’re growing heat-loving plants like peppers, add a sprinkle of worm castings to give them an extra boost. Here’s the exact recipe I use every season!
📚 In This Guide
- What you need
- Instructions
- Tips and common mistakes
- Wrapping up and next steps
What you need
- ● Coco coir or peat moss: 60% of the mix (2 parts). Opt for organic, sterile coco coir to retain moisture without compacting.
- ● Perlite or vermiculite: 20% of the mix (1 part). Perlite adds aeration, while vermiculite holds moisture—choose based on your climate!
- ● Compost or worm castings: 20% of the mix (1 part). Use well-aged compost or high-quality worm castings for gentle, nutrient-rich growth.
- ● Large mixing container: A clean, sterilized 5-gallon bucket or wheelbarrow works best.
- ● Garden trowel or shovel: For blending ingredients evenly.
- ○ Spray bottle (optional): To mist the mix before use and keep it moist.
- ○ pH testing kit (optional): Aim for a slightly acidic pH (6.0–7.0) for most seeds.
- ○ Seed-starting trays or pots (optional): If not prepping for direct sowing.
How to mix organic seed starter soil for fast germination
Here's the lightweight loam blend I swear by for breaking the soil barrier to speedy sprouts.
🌱 Step 1: Combine Base Materials for Airy Texture
Start with 4 parts peat moss—this gives your mix that fluffy, water-retentive foundation that seedlings love. Add 3 parts perlite to create air pockets; without it, roots suffocate and seedlings rot. I like to sift these together first to break up any clumps.
Next, mix in 2 parts vermiculite—this holds moisture while still allowing drainage. The vermiculite will look like tiny wormy pieces, and that's exactly what you want. Avoid garden soil here; it's too dense and may carry pathogens that will kill your tender starts.
💧 Step 2: Add Organic Matter for Nutrient Boost
Stir in 1 part coconut coir to improve water retention and add microbial activity. The coir will look like shredded brown coconut fibers. Then add ½ part compost—I use well-aged compost to avoid introducing weed seeds or high salt levels that can burn seedlings.
For extra insurance, sprinkle in 1 tablespoon of worm castings per quart of mix. This provides gentle, balanced nutrition right from the start. The castings will look like crumbly dark brown soil—don't skip this if you want fast germination.
✂️ Step 3: Fluff and Sterilize for Germination Ready Mix
Use your hands to break up any remaining clumps until the mix feels like crumbly cake batter. The texture should be light enough to hold its shape when squeezed but still allow water to flow through. If it sticks together too tightly, add a little more perlite.
For sterilization, spread the mix on a baking sheet and bake at 200°F for 30 minutes. This kills any dormant pathogens without cooking out the organic matter. Let it cool completely before using—warm soil can shock seeds and prevent germination.
☀️ Step 4: Test Moisture Before Planting
Grab a handful of the cooled mix and squeeze gently. It should hold together but not drip water—think of a damp sponge. If it crumbles too easily, mist it lightly with water. If it stays clumped, add a little more perlite to improve aeration.
Now your seed starter soil is ready. Fill your seed trays to within ½ inch of the rim, leaving room for seeds and topsoil. The mix should feel cool to the touch and smell earthy—not musty or chemical. This is your signal everything's balanced for fast germination.
Tips & tricks for perfect organic seed starter soil
Between us, these little tweaks will transform your seed starter soil from good to downright magical for germination. The devil's in the details here.
Base Material Ratio: When measuring your 4 parts peat moss, 3 parts perlite, and 2 parts vermiculite, I like to use a kitchen scale for precision—especially with the lighter materials like perlite. A 16-ounce box of perlite actually contains about 4 cups by volume, so measure carefully. The goal is perfect aeration, and even a small miscalculation can lead to compacted soil that suffocates roots.
Sterilization Secret: That 200°F sterilization step is non-negotiable for fast germination, but here's what nobody tells you—spread your mix in a single layer on the baking sheet. Thick piles won't heat evenly, leaving potential pathogens alive in the center. If your oven runs hot, reduce to 190°F and let it bake for the full 30 minutes. The mix should smell clean and earthy when done, not musty or chemical.
Moisture Test Trick: For the perfect damp sponge consistency in Step 4, I've found this works best: Take your handful of cooled mix and gently press it between your fingers. If it holds together but breaks with light pressure, you're golden. If it crumbles completely, add a teaspoon of water per quart of mix and re-test. Too wet? Add a pinch of perlite to fluff it up. This balance is what keeps those delicate seedlings from drowning while still staying hydrated.
Optional Nutrient Boost: Want to give your seedlings an extra growth spurt? After sterilization, mix in 1 tablespoon of powdered kelp meal per quart of cooled soil. It adds trace minerals without overpowering the delicate balance we've created. Just don't skip the worm castings—they're the real MVP for fast germination.
Pro Tips for Organic Seed Starter Soil
- Between us, these little tweaks will transform your seed starter soil from good to downright magical for germination.
- Base Material Ratio: When measuring your 4 parts peat moss, 3 parts perlite, and 2 parts vermiculite, I like to use a kitchen scale for precision—especially with the lighter materials like perlite.
- Sterilization Secret: That 200°F sterilization step is non-negotiable for fast germination, but here's what nobody tells you—spread your mix in a single layer on the baking sheet.
Frequently asked questions
What’s the difference between seed starter soil and regular potting soil?
Seed starter soil is lighter and more porous than regular potting mix, designed to encourage fast germination and delicate root growth. It often contains less peat or coir and more perlite or vermiculite to improve aeration. Regular potting soil is denser and better suited for established plants.
How long can I keep seed starter soil before it goes bad?
Unopened bags last 6–12 months (check the date!), but once opened, use it within 3–6 months for best results. Store it in a cool, dry place (like a sealed container) to prevent mold. If it smells musty or feels clumpy, toss it—fresh soil = happier seeds!
Can I make my own organic seed starter soil at home?
Mix 50% peat moss or coco coir, 30% perlite or vermiculite, and 20% compost or worm castings. For a sterile version, bake your potting soil at 200°F (93°C) for 30 minutes to kill weeds/seeds. Pro tip: Add a pinch of mycorrhizal fungi to boost root growth!
Why are my seeds not germinating in my starter soil?
Check these first:
- Moisture: Soil should stay consistently damp (not soggy). Use a spray bottle or bottom-watering tray.
- Temperature: Most seeds need 65–75°F (18–24°C). Use a heat mat if your home runs cold.
- Depth: Tiny seeds (like lettuce) need just ¼ inch of cover; larger seeds (beans) go 1 inch deep.
- Light: Some seeds (peppers, tomatoes) need light to germinate—don’t bury them!
Can I reuse seed starter soil after transplanting seedlings?
Yes, but sterilize it first! Spread it on a baking sheet and bake at 200°F (93°C) for 30 minutes to kill pathogens. Avoid reusing soil for the same plant family (e.g., tomatoes after tomatoes) to prevent disease buildup. For long-term reuse, mix in fresh compost (20%) to replenish nutrients.
Wrapping up and next steps
Choosing the right organic seed starter soil—like lightweight loam—can make all the difference in helping your seeds sprout faster and grow stronger roots. 🌱 With the right blend of nutrients, moisture retention, and aeration, you’re setting your garden up for success from day one.
Now that you’re armed with the knowledge, it’s time to roll up your sleeves and get planting!
Start small with a few seeds, experiment with different mixes, and watch your green thumb grow. Happy gardening! 🌿