
Lawn
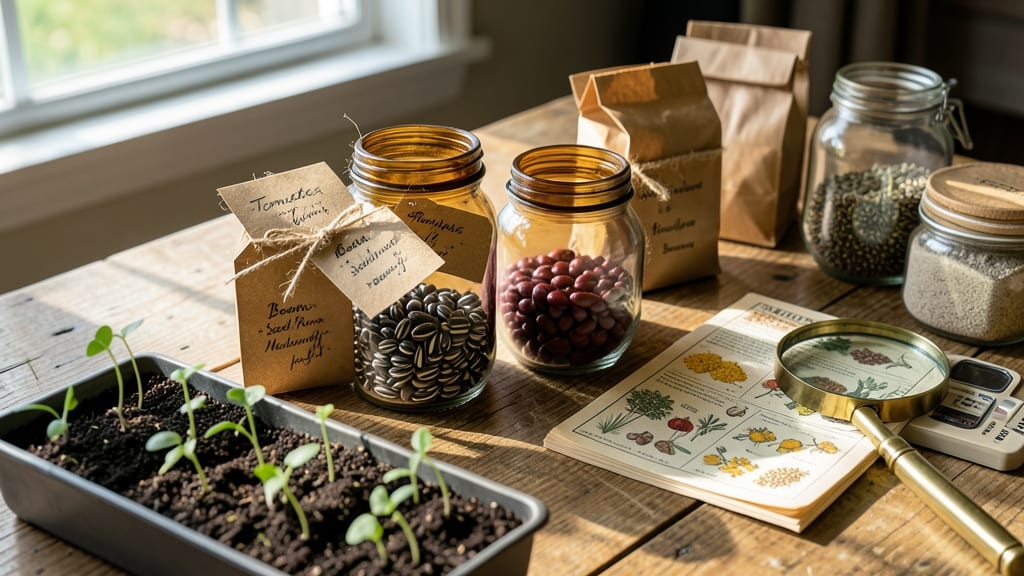
Cold stratification turns last year's garden failures into next year's showstopper blooms—thanks to the wisdom of the Seed Savers Exchange. 🌱 I've saved seeds from my own garden for five seasons, and this simple winter process guarantees stronger, more reliable plants than store-bought varieties.
The magic happens when seeds experience a cold, moist period that mimics natural winter conditions. Most gardeners skip this step, which is why their seeds either rot or sprout too slowly. With just a few supplies—a paper bag, damp peat moss, and your freezer—you'll break dormancy and boost germination rates.
By spring, you'll be planting seeds that grow into plants with deeper roots, better disease resistance, and flowers that arrive weeks earlier. The payoff isn't just pretty blooms—it's the satisfaction of growing plants that thrive because you gave them the right start.
This method works for perennials, biennials, and many annuals, including poppies, columbines, and foxgloves. Let's get those seeds stratified!
📚 In This Guide
- What you need
- Instructions
- Tips and common mistakes
- Wrapping up and next steps
What you need
- ● Seeds: Choose open-pollinated or heirloom seeds (avoid hybrids). Aim for 50–100 seeds per variety for testing.
- ● Cold Stratification Medium: Option 1: Peat moss or coconut coir (sterilized, 2–3 cups per batch of seeds).
- ● Option 2: Vermiculite or perlite (moisture-retentive, 1–2 cups).
- ● Option 3: Wet paper towels or coffee filters (for small seed batches, 1–2 sheets).
- ● Containers: Plastic zip-top bags (quart-sized, 2–4 per seed type).
- ● Small pots or seed trays (with drainage, 1–2 per variety).
- ● Spray bottle (for gentle moisture control).
- ● Permanent marker (to label seeds and dates).
- ● Refrigerator or cold frame: Set to 34–40°F (1–4°C) for consistency.
- ● Humidity dome or plastic wrap (to retain moisture in pots).
- ● Seed stratification kits (pre-labeled bags with gel packs).
- ● Thermometer (to monitor fridge temps).
- ● Grow lights (for post-stratification sprouting).
- ● Journal or spreadsheet (track seed types, start dates, and germination progress).
How to cold stratify seeds for next season's reliable blooms
Here's the method I swear by for breaking dormancy and ensuring strong, predictable germination.
🌱 Step 1: Select and Prepare Your Seeds
Choose seeds from healthy, mature plants that performed well in your garden. Avoid hybrid seeds (marked "F1")—they won't breed true. I like to harvest seeds from open-pollinated varieties like heirloom tomatoes or native wildflowers, as they'll produce plants identical to their parents.
Clean seeds thoroughly by removing any plant debris or chaff, then let them dry completely for 3-5 days in a cool, dark place. This prevents mold during stratification. Store them in a labeled paper envelope until ready to stratify—plastic traps moisture and encourages rot.
💧 Step 2: Moisten the Stratification Medium
Use a 50/50 mix of moist peat moss and perlite as your stratification medium. Fill a plastic container with 2-3 inches of this blend, then mist it thoroughly until evenly damp—like a wrung-out sponge. Too much water creates anaerobic conditions that kill seeds; too little prevents proper moisture uptake.
I place the container in a resealable plastic bag and seal it loosely. This maintains humidity while allowing airflow. The goal is to keep the medium consistently moist but not soggy throughout the process.
❄️ Step 3: Layer Seeds and Refrigerate
Spread seeds evenly across the surface of the damp medium, spacing them ½ inch apart to prevent crowding. Gently press them into the top layer so they make contact with the moist mix. Cover with an additional ¼ inch of the same medium to protect seeds from drying out.
Place the container in your refrigerator's crisp drawer (typically 35-40°F) for the required stratification period. Most seeds need 4-12 weeks—check seed packets for specific recommendations. I mark the start date on the bag with a permanent marker so I don't forget.
🌿 Step 4: Monitor and Test Germination Readiness
After 4 weeks, check seeds weekly for signs of sprouting. The ideal moment to move them is when you see tiny white roots emerging or when the seed coat begins to crack. This usually happens within 6-8 weeks for most varieties.
If seeds remain dormant after 12 weeks, they may need longer cold treatment. Never force germination—wait until you see clear signs of life. Once active, transfer seeds to a warm, bright location for germination, keeping the medium consistently moist but not waterlogged.
⏰ Step 5: Transition to Germination Conditions
When seeds show first signs of growth, move them to a warm spot (65-75°F) with indirect light. Place a clear plastic dome or wrap a plastic bag around the container to maintain humidity. Most seeds will sprout within 7-14 days after this transition.
Once seedlings emerge, remove the cover immediately to prevent fungal growth. Keep the medium moist but not soggy, and provide 12-14 hours of light daily to prevent leggy growth. This careful transition ensures strong, healthy starts ready for transplanting.
Tips & tricks for reliable seed stratification success
These insider tricks will help you maximize germination rates and avoid common pitfalls that can derail your seed-saving efforts.
Medium Consistency is Key: The 50/50 peat moss and perlite mix should feel like a wrung-out sponge—not dripping, but with enough moisture that it holds together when squeezed. I test this by pressing my finger into the mix: if water beads form on the surface, it's too wet. If it crumbles, add a fine mist of water and let it absorb for 10 minutes before proceeding. This balance prevents both anaerobic conditions and premature drying during the critical 4-12 week cold period.
Stratification Container Hack: Use a clear plastic takeout container with a snap-on lid for your stratification setup. The transparency lets you monitor moisture levels without opening the container (which disrupts humidity), and the lid creates that essential humid microclimate. I cut small ventilation holes in the lid with a nail—just enough to allow airflow while maintaining moisture. This simple modification eliminates the need for loosely sealed bags that can sometimes fail to maintain consistent conditions.
Temperature Monitoring: While most refrigerators' crisp drawers maintain 35-40°F, I recommend using a small digital thermometer placed in the container during stratification. Some fridges have hot or cold spots that can vary by 5°F or more. For seeds requiring precise temperature ranges (like some native wildflowers), this small investment prevents wasted time with seeds that might not get cold enough for proper dormancy breaking.
Seed Viability Check: Before committing to stratification, perform a quick viability test on a small sample of seeds. Place 10 seeds between two damp paper towels in a sealed plastic bag for 3 days at room temperature. If 70% or more sprout, your seeds are viable. This simple test saves time and frustration when dealing with seeds that might be past their prime or improperly stored. For seeds showing low viability, extend the stratification period by 2-4 weeks before expecting germination.
Pro Tips for Seed Savers Exchange
- These insider tricks will help you maximize germination rates and avoid common pitfalls that can derail your seed-saving efforts.
- Medium Consistency is Key: The 50/50 peat moss and perlite mix should feel like a wrung-out sponge—not dripping, but with enough moisture that it holds together when squeezed.
- Stratification Container Hack: Use a clear plastic takeout container with a snap-on lid for your stratification setup.
Frequently asked questions
Got questions about cold stratification and Seed Savers Exchange? You’re not alone! Here are some of the most common queries—and straightforward answers—to help you get started with confidence.
What seeds can I cold-stratify from Seed Savers Exchange?
Cold stratification works best for hard-coated seeds like lupines, milkweed, and some wildflowers. Check the seed packet for a "cold stratification required" label—Seed Savers Exchange lists these clearly! Avoid tropical or heat-loving seeds (e.g., peppers, tomatoes), as they won’t respond well. Pro tip: If unsure, test a few seeds—some may germinate without stratification!
How long should I cold-stratify seeds?
Most seeds need 4–12 weeks in the fridge (35–40°F). Seed Savers Exchange packets often specify the exact time—follow their guidelines! For example, bluebonnets thrive with 6–8 weeks, while lupines may need 2–3 months. Troubleshooting: If seeds still don’t sprout after 12 weeks, they might need scarification (lightly sanding the seed coat) or fresh stratification.
Can I skip cold stratification if I’m in a cold climate?
If you live in USDA Zones 3–6, sow seeds outdoors in late fall or winter—nature handles the cold work for you. Seed Savers Exchange recommends this for perennials and wildflowers. Just ensure the soil isn’t frozen solid. Bonus: Winter-sown seeds often germinate earlier in spring!
What if my seeds mold or rot during stratification?
Mold or rot usually means too much moisture or poor airflow. Seed Savers Exchange uses damp (not soggy) paper towels—squeeze excess water out! Store seeds in a sealed but breathable container (like a ziplock with holes) and check weekly. Fix it: Discard moldy seeds and restart with fresh ones from your Seed Savers Exchange order.
Are there alternatives to fridge stratification?
Yes! For outdoor stratification, bury seeds in moist sand or peat moss in a pot and leave it outside (protected from critters). Seed Savers Exchange also sells pre-stratified seed mixes—just plant them directly. Another hack: Use a seed stratification mat (like those for weed control) for hands-off cold treatment in the garden.
Wrapping up and next steps
Cold stratification isn’t just a gardening trick—it’s your secret weapon for reliable, vibrant blooms next season! By mastering this simple technique through Seed Savers Exchange, you’re not only preserving heirloom varieties but also building a self-sustaining garden ecosystem. 🌱
Ready to put your newfound knowledge into action? Start small—pick one seed variety this fall, follow the blueprint, and watch your garden thrive. Share your success with fellow seed savers, and together, let’s grow a greener future, one seed at a time!