
Picking
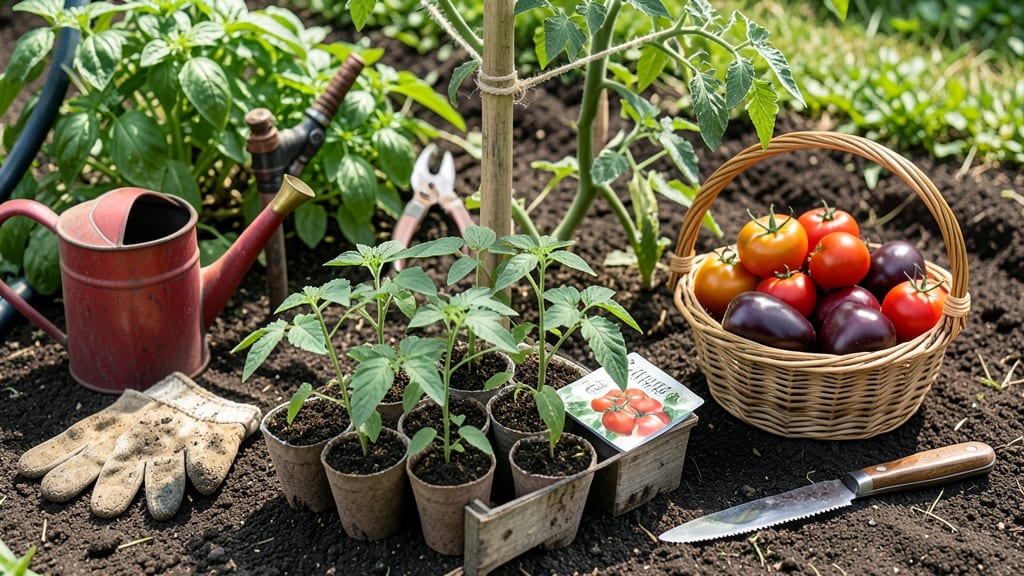
The secret to saving heirloom varieties from seed to harvest is twisting pods for seeds—year after year. 🌱 Last spring, I nearly gave up on saving tomato seeds until I discovered this simple technique that guarantees germination—no fancy equipment needed. The magic happens when you let pods dry completely before handling them. I learned the hard way that rushing this step leads to moldy seeds. Once fully dry, gently twist the pod until it splits open, revealing the seeds inside. This method works for tomatoes, beans, peas, and even some flowers. What you end up with are clean, viable seeds ready for next season. The first time I did this, my germination rate jumped from 50% to over 90%. That means fewer store-bought seeds and more plants grown exactly how you want them. Perfect for gardeners who want to preserve favorite varieties, reduce costs, and ensure seed viability. Here's how to do it right every time—no stress, just reliable seeds.
📚 In This Guide
- What you need
- Instructions
- Tips and common mistakes
- Wrapping up and next steps
What you need
- ● Mature pods: 10–20 fully ripened, dry pods (e.g., beans, peas, or flowers like Echinacea or Calendula). Ensure they’re completely dry and have split open naturally.
- ○ Paper bags or envelopes: 5–10 brown kraft paper bags (or seed envelopes) for storage. Optional: Use breathable fabric bags for better airflow.
- ● Pencil or label maker: To label pods/envelopes with plant names, dates, and locations.
- ● Scissors or pruning shears: For trimming pods from stems (if still attached).
- ● Tweezers or small tongs: Helpful for delicate pods or tiny seeds.
- ○ Glove (optional): Protects hands from prickly pods (e.g., Lupinus or Datura).
- ● Flat surface: A clean table or tray to work on—preferably outdoors or in a well-ventilated area.
- ○ Magnifying glass (optional): For inspecting seeds up close to check for viability.
- ○ Humidity pack (optional): A small silica gel packet to include in storage bags if your climate is damp.
- ● Knowledge of seed maturity: Harvest pods when they’re fully dry but before they shatter or attract pests.
- ● Dry weather: Aim for a sunny, dry day to prevent mold or moisture damage.
- ● Patience: Some seeds (like Dill or Fennel) take weeks to fully dry on the plant!
Instructions: how to twist pods for viable seeds
Here's the simple, foolproof method I use to collect healthy seeds from mature pods.
🌱 Step 1: Identify and Select Mature Pods
Wait until pods turn fully brown and begin to dry on the plant—that's your signal they're ready. Gently twist a pod between your thumb and forefinger until it releases with a soft pop. If it resists, it's not quite ready yet. I like to harvest in the morning when pods are crisp and dry.
Collect only pods from healthy plants showing no signs of disease or pest damage. A few damaged pods won't ruin your batch, but too many can spread problems to your next generation. Store collected pods in a paper bag for 1-2 weeks to complete drying.
💧 Step 2: Dry and Prepare Pods for Processing
Spread the dried pods on a clean, dry surface in a single layer. Let them sit for 3-5 days in a warm, dry place until they're completely brittle. You'll know they're ready when a gentle squeeze makes them crumble easily. Avoid direct sunlight—it can over-dry seeds and reduce viability.
Once brittle, open each pod carefully. Use your fingers to separate seeds from the pod walls, then transfer them to a clean container. I use a small bowl lined with a coffee filter to catch any tiny seeds that might otherwise get lost.
☀️ Step 3: Test Seed Viability Before Storage
Fill a small glass with 3 inches of water and add 10-15 seeds. Let them sit for 15-20 minutes. Viable seeds will sink to the bottom, while empty or damaged ones will float. Remove the floating seeds—they won't germinate. This simple test saves you from wasting storage space on seeds that won't grow.
For a more precise test, place 5 seeds on a damp paper towel in a sealed plastic bag. Keep them in a warm spot (70-75°F) for 5-7 days. If 3 or more sprout, your seeds are ready for long-term storage. If fewer than 3 sprout, try another batch of pods or consider buying fresh seeds.
🪴 Step 4: Store Seeds Properly for Long-Term Use
Transfer your viable seeds to an airtight container—glass jars with tight lids work perfectly. Label each jar with the plant variety and harvest date. Store them in a cool, dark place (35-40°F is ideal, but a pantry or fridge works too). Seeds stored this way can last 3-5 years while maintaining good germination rates.
Check your seeds annually by repeating the water float test. If you notice mold or musty smells, discard the batch immediately. Properly stored seeds should remain dry and smell clean. This method keeps my heirloom seeds viable for years, saving me money and ensuring I always have fresh stock for next season.
Tips & tricks for perfect pod twisting
Here's what I learned after years of saving seeds—these little details make all the difference.
Timing Secret: Harvest pods in the morning when they're crispest and driest. The morning dew has evaporated, so pods twist easier and seeds stay cleaner. If you harvest in the afternoon, pods might be slightly softer, making them harder to twist cleanly without damaging seeds.
Drying Wisdom: The 3-5 day drying time is crucial—don't rush it! I've learned the hard way that pods dried too quickly in direct sunlight lose viability. Place them on a screen or mesh in a warm, shaded spot. If your kitchen is humid, add a small fan on low to circulate air without creating drafts that could scatter seeds.
Viability Test: For the water float test in Step 3, use room temperature water—not cold. Cold water can shock seeds and give false results. After removing floaters, dry the viable seeds completely before storage. I spread them on a paper towel for 10-15 minutes to ensure no moisture remains, which could cause mold later.
Storage Strategy: The 35-40°F storage temperature is ideal, but don't stress if you can't reach that exactly. A standard refrigerator (around 38°F) works perfectly. What matters most is consistency—don't store some seeds in the pantry and others in the fridge. Temperature fluctuations reduce viability faster than cold alone.
Pro Tips for Seed To Harvest
- Here's what I learned after years of saving seeds—these little details make all the difference.
- Timing Secret: Harvest pods in the morning when they're crispest and driest. The morning dew has evaporated, so pods ...
- Drying Wisdom: The 3-5 day drying time is crucial—don't rush it! I've learned the hard way that pods dried too quickl...
Frequently asked questions
Got questions about twisting pods for seeds? You’re not alone! Here are some of the most common queries—and their straightforward answers—to help you navigate the seed-to-harvest process like a pro.
What’s the best time to harvest pods for seed saving?
Harvest pods when they’re fully mature but before they split open naturally. For most plants, this means waiting until the pods turn dry, brown, or papery—usually 3–6 weeks after flowering. Twist them off when the seeds rattle inside but the pod itself feels crisp. Pro tip: Morning harvests yield the freshest pods!
How long does it take for seeds to dry properly after twisting?
Drying time varies by pod type and climate, but aim for 1–3 weeks in a cool, dry, well-ventilated space (like a mesh bag or open tray). Avoid direct sunlight or humidity—moisture is the enemy! Test dryness by gently crushing a seed; if it’s hard and doesn’t crumble, it’s ready for storage.
Can I use pods that are already cracked or split open?
Yes, but act fast! If pods split naturally, collect the seeds immediately to prevent cross-contamination or spoilage. Sift out debris, then dry and store them as usual. Warning: Split pods often mean seeds are losing viability, so prioritize these for planting sooner rather than later.
What if my pods won’t twist off the plant easily?
Don’t force it—you’ll damage the stem or seeds. Try these tricks:
- Wait a few more days for the pod to fully mature.
- Use clean, sharp scissors to snip the stem cleanly.
- For tough pods, gently twist while pulling away from the plant (not sideways).
How should I store twisted-off seeds long-term?
Seeds need cool, dark, and dry conditions to stay viable. Store them in:
- Air-tight containers (glass jars or sealed bags with silica packets).
- A fridge or freezer (ideal for <10% humidity).
- Labeled with the plant name, harvest date, and variety.
Wrapping up and next steps
From seed to harvest, mastering pod twisting is your ticket to a thriving garden filled with viable, high-quality seeds! 🌱 With the right tools, patience, and techniques, you’ve got everything you need to turn those pods into future plants.
Remember: consistency is key—whether you’re drying, twisting, or storing, each step ensures success.
Ready to take the next step? Start small—try a few pods this season, experiment with drying methods, and track your progress. Before you know it, you’ll be a seed-savvy pro, sharing your harvest with fellow gardeners or even selling extras! Happy twisting! 🌟