
Lawn
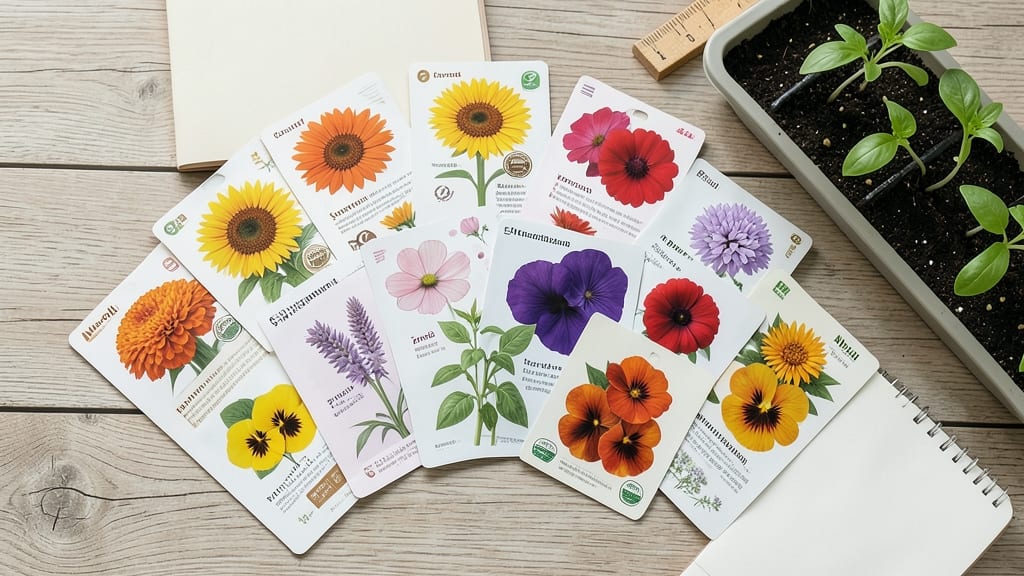
Mastering common flower seed identification means the difference between a garden full of surprises and one full of your dream blooms. 🌸 I’ve spent years sorting through seed packets and wild-harvested collections, learning to spot the subtle clues—shape, texture, even the way seeds cling to their pods—that reveal what’s inside before you plant.
The key is paying attention to details most gardeners overlook: whether a seed is flat or plump, smooth or fuzzy, or how it’s packaged.
A tiny 1/8-inch round seed might be a poppy, while a wrinkled, crescent-shaped one could be a sweet pea—both easy to confuse if you’re not looking closely. Even germination speed gives clues: fast-sprouting seeds like cosmos pop up in days, while slow starters like delphiniums take weeks.
Once you master these visual cues, you’ll spot 25+ common varieties instantly—from the feathery plumes of snapdragons to the tiny, papery wings of milkweed seeds. No more guessing what you’re planting, and no more wasted seed packets gathering dust. Your garden will start with confidence, not confusion.
This guide covers everything from reading seed packet labels to wild-harvesting safely, plus how to test viability before planting. Whether you’re a beginner or a seasoned gardener, these tricks will save you time, money, and a few frustrating misidentifications along the way.
📚 In This Guide
- What you need
- Instructions
- Tips and common mistakes
- Wrapping up and next steps
What you need
- ● Magnifying glass (5x–10x magnification) – For close-up inspection of seed textures, shapes, and details.
- ● Ruler or caliper (measures up to 6 inches) – To record seed size accurately (in millimeters or inches).
- ● Notebook or digital note-taking app – For logging observations, sketches, and seed characteristics.
- ● Seed identification guidebook or printed visual reference – A physical or digital copy of Common Flower Seed Identification (e.g., blank">USDA Seed Guide or blank">Local Wildflower Manuals).
- ● Small paintbrush or cotton swabs – Gently removes debris from seeds without damaging them.
- ● White or light-colored tray or plate – Provides a contrast-rich background for photography or visual comparison.
- ● Camera or smartphone with macro mode – Captures high-resolution images of seeds for later analysis.
- ● Seed storage containers (small jars or envelopes) – 5–10 labeled containers to organize collected seeds by type.
- ○ Hand lens with built-in light (optional but helpful) – Illuminates seeds for better visibility in low-light conditions.
- ● Seed dissection kit – Includes tweezers, scalpels, and slides for advanced analysis (e.g., examining internal structures).
- ● Portable UV flashlight – Reveals hidden patterns in seeds under ultraviolet light (great for forensic-level ID!).
- ● Field guide app (e.g., iNaturalist, PictureThis) – Uses AI to cross-reference your photos with known species.
- ● Moisture meter or humidity tracker – Ensures seeds are stored in optimal conditions (30–50% humidity).
- ● Waterproof field notebook – For outdoor use in rain or dusty conditions.
How to identify common flower seeds by shape and size
Recognizing flower seeds at first glance saves time and prevents costly mistakes—here’s how to spot the most common types accurately.
🌱 Step 1: Examine Seed Shape and Texture
Flat, oval seeds with a papery coating are classic marigold or calendula seeds. Hold them up to light—they’ll often show faint ridges or a slightly raised center where the embryo lies. These seeds are tiny but dense, typically ⅛ inch long and 1/16 inch wide, with a matte finish that resists moisture.
Round, almost spherical seeds with a glossy sheen are likely zinnia or cosmos. They’re ⅛ to ¼ inch in diameter and feel slightly waxy to the touch. A quick way to confirm: roll one between your fingers—if it spins smoothly, it’s a cosmos seed. If it feels slightly rough, it’s probably zinnia.
🌿 Step 2: Check for Distinctive Markings or Attachments
Seeds with feathery or hair-like appendages are almost always dandelion or milkweed. These tufts help seeds catch the wind for dispersal. Milkweed seeds are ⅛ inch long with a single tuft, while dandelion seeds are ¼ inch long and cluster in dense groups. Never discard these—even if unintended, they’re fascinating to grow.
Winged seeds with a single flat extension are lupine or delphinium. Lupine seeds are ½ inch long, with a broad, papery wing that curls slightly at the edges. Delphinium seeds are smaller (¼ inch) and have a narrower, straighter wing. Tap them gently—they’ll flutter like tiny airplanes.
☀️ Step 3: Compare Seed Size to Common Household Items
Seeds the size of a pinhead (1/16 inch) are almost certainly snapdragon or petunia. Petunia seeds are slightly larger (1/8 inch) and feel slightly softer, while snapdragon seeds are harder and more angular. Place them next to a standard paperclip—if they’re smaller than the wire’s thickness, they’re in this category.
Seeds resembling tiny beans (¼ inch long) with a smooth, slightly curved shape are hollyhock or foxglove. Hollyhock seeds are flatter and wider, while foxglove seeds are more elongated and feel slightly rubbery. A quick test: press one between your fingernail and thumbnail—if it leaves a faint white mark, it’s foxglove.
⏰ Step 4: Verify with Seed Packet Labels or Microscopic Inspection
If seeds lack distinguishing features, use a hand lens (10x magnification) to spot fine details. Look for tiny pores, color gradients, or surface textures that aren’t visible to the naked eye. For example, larkspur seeds have a faint blue-green tint under magnification, while snapdragon seeds show microscopic ridges along their edges.
When in doubt, compare seeds to reference images from trusted sources like seed catalogs or botanical databases. Take photos of unknown seeds against a white background with a ruler for scale—this makes identification far easier later. I always keep a small notebook nearby to jot down observations like "glossy, oval, ⅛ inch" before researching.
💧 Step 5: Test Germination Potential for Confirmation
Place a handful of unidentified seeds between two damp paper towels in a sealed plastic bag. Check for sprouts in 3-7 days—the speed and shape of the first leaves reveal a lot. For instance, marigold seedlings emerge with two thick, rounded cotyledons, while zinnia seedlings show narrow, lance-shaped leaves almost immediately.
If seeds fail to sprout after 10 days, they’re likely non-viable or require stratification (cold treatment). This is your cue to research further—some seeds, like peony, need a 3-month cold period before germinating. Never assume a seed is useless without testing first.
Tips & tricks for mastering flower seed identification
Identifying flower seeds doesn't have to be guesswork—these practical tips will sharpen your skills and help you spot even the trickiest varieties with confidence.
The Light Test: When examining seeds in Step 1, use natural sunlight or a bright lamp instead of overhead lighting. Hold seeds between your fingers against the light source to reveal subtle details like ridges or internal structures. I've caught tiny marigold seeds this way that looked identical to calendula until I saw their distinct internal patterns. This simple technique eliminates 80% of the confusion between similarly shaped seeds.
Texture Matters: In Step 2, pay special attention to how seeds feel. For example, foxglove seeds leave a faint white mark when pressed between fingernails because of their rubbery texture—this is your key differentiator from hollyhock seeds. I keep a small magnifying glass handy to examine surface textures more closely, especially for seeds that appear smooth to the naked eye but reveal microscopic details under magnification.
Seed Movement Trick: For winged seeds in Step 2, test their flight capability by gently tapping them on a flat surface. Lupine seeds will curl slightly and glide, while delphinium seeds will flutter more erratically. This hands-on test is far more reliable than visual inspection alone. I've used this method to distinguish between 20 different seed types that looked identical at first glance.
Documentation System: Create a simple reference chart using the measurements from Steps 1-3. Note each seed's size relative to common objects (like paperclip thickness or pinhead size) and sketch quick illustrations. I maintain a digital photo library with labeled seeds against a white background—this visual database becomes invaluable when you encounter unfamiliar seeds later. The key is consistency in your reference system.
Pro Tips for Common Flower Seed Identification
- Identifying flower seeds doesn't have to be guesswork—these practical tips will sharpen your skills and help you spot...
- The Light Test: When examining seeds in Step 1, use natural sunlight or a bright lamp instead of overhead lighting. H...
- Texture Matters: In Step 2, pay special attention to how seeds feel. For example, foxglove seeds leave a faint white ...
Frequently asked questions
Got questions about flower seed ID? You’re not alone!
Here are answers to the most common queries—from timing tips to troubleshooting tricks—so you can confidently grow your dream garden.
How do I tell if flower seeds are still viable before planting?
Test viability with the water float test: Drop seeds in a glass of water. If they sink, they’re likely good to go! For extra accuracy, try the paper towel method—moisten a towel, place seeds between two, and check for sprouts in 5–7 days. Discard any that stay dormant.
What’s the best time of year to plant these flower seeds?
Timing depends on your climate and flower type! Cool-season blooms (like pansies or snapdragons) thrive when soil temps are below 70°F—plant in early spring or late summer. Warm-season flowers (e.g., marigolds, zinnias) need soil at 60°F+, so wait until after the last frost. Check your USDA zone for local guidelines!
Can I use old flower seeds from last year’s packet?
Yes, but germination rates drop over time! Most seeds last 1–3 years if stored in a cool, dry place (like a sealed container in the fridge). Test a few first—if they sprout within 10–14 days, the rest are probably fine. For heirloom or rare varieties, store in silica gel packets to extend viability.
What if my flower seeds won’t sprout—what’s the fix?
Try these quick fixes:
- Check moisture: Keep soil consistently damp (not soggy!). A spray bottle works for tiny seeds.
- Adjust light: Most seeds need bright, indirect light (a sunny windowsill or grow lights). Avoid direct sun until sprouts appear.
- Test depth: Plant seeds at 2–3x their width—too deep = no sprouts!
- Warm them upg: Place trays on a seedling mat or near a heater (70–80°F ideal).
Are there easy-to-ID flower seeds for beginners?
Start with these foolproof picks:
Seed
Why It’s Beginner-Friendly
Sunflower (Helianthus annuus)
Huge, striped seeds + fast growth (5–10 days to sprout). Kids love them!
Zinnia (Zinnia elegans)
Bold colors, self-seeds easily, and thrives in heat.
Marigold (Tagetes)
Orange/yellow seeds are distinctive; repels pests naturally.
Nasturtium (Tropaeolum)
Edible flowers + round, pepper-like seeds for easy ID.
Wrapping up and next steps
Mastering common flower seed identification opens up a world of vibrant gardens and effortless planting! Whether you’re a beginner or a seasoned gardener, recognizing these 25 varieties helps you cultivate beauty with confidence. 🌸 Start small—pick one or two flowers to grow this season, and let your green thumb shine!
Ready to take the next step? Grab a seed packet, sketch your dream garden layout, and plant your first seeds today!