
Lawn
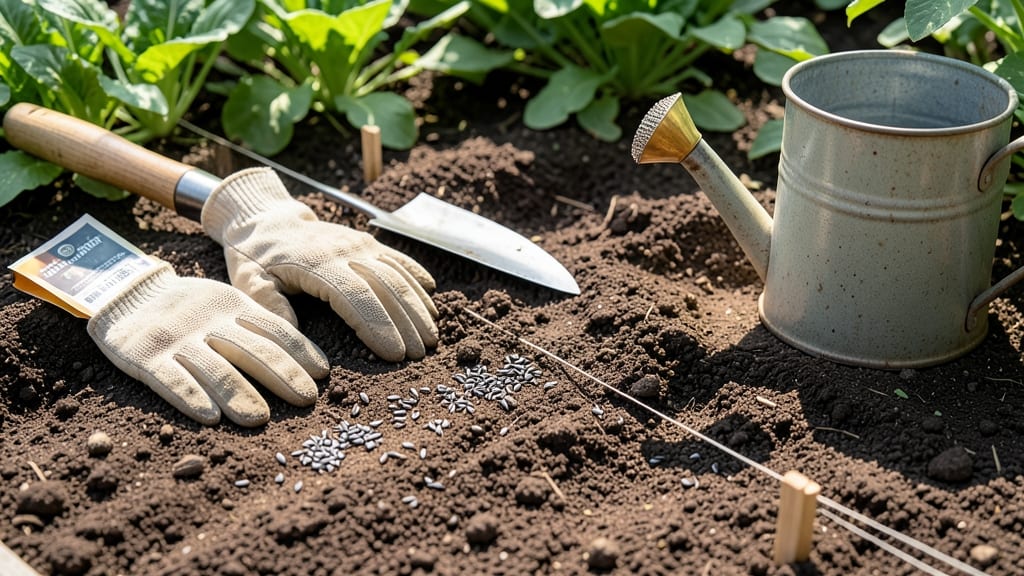
Direct seed planting turns bare patches into lush lawns without the hassle of transplants. 🌱 I’ve transformed my own patchy yard this way—no digging, no waiting for nursery stock, just seeds sprouting into thick, green grass that outlasts anything from a sod roll.
The secret lies in prepping the soil just enough to break up compaction, choosing the right seed mix for your climate, and keeping moisture consistent. Most people overwater or plant too deep, which smothers seeds.
My first attempt failed when I followed the "plant twice as deep as the seed" rule—turns out, tiny grass seeds need light to germinate.
By week three, you’ll see uniform green shoots filling gaps where weeds once took over. The best part? This method costs a fraction of sod and works for lawns, wildflower meadows, or even vegetable beds. No more wrestling with rootbound transplants or hoping seedlings survive the shock of moving.
Whether you’re fixing a small bare spot or overhauling your entire yard, this approach saves time, money, and frustration. Here’s how to do it right—no green thumb required.
📚 In This Guide
- What you need
- Instructions
- Tips and common mistakes
- Wrapping up and next steps
What you need
- ● Direct seed lawn mix: Choose a high-quality blend (e.g., tall fescue, perennial ryegrass, or bluegrass) tailored to your climate. Quantity: ~10–12 lbs per 500 sq ft (check seed bag for coverage rate).
- ● Lawn rake: A bow rake (4–6 teeth) to level the soil and remove debris. Size: 18–24 inches wide for efficiency.
- ● Broadcast spreader: For even seed distribution. Type: Handheld or tow-behind (rent if needed).
- ● Starter fertilizer: Low-nitrogen (5–10%), high-phosphorus (15–20%) blend. Rate: 1 lb per 100 sq ft.
- ● Water source: Hose with adjustable nozzle or sprinkler system (oscillating or rotary).
- ○ Soil test kit (optional but recommended): Check pH and nutrient levels before planting. Kit: DIY test strips or lab analysis.
- ● Kneeling pad: For comfort during prep work.
- ● Wheelbarrow: To haul soil amendments or seed.
- ● Soil amendment: Compost or peat moss (if soil is sandy/clay-heavy). Rate: ¼–½ inch layer.
- ● Erosion control blanket: For slopes or windy areas (biodegradable options available).
- ● Seed tape: Pre-spaced seeds for precision (great for small areas).
- ● Weather tracker app: Monitor forecasts to avoid planting before rain.
How to plant grass seed directly for a thicker lawn
Here's my no-fuss method for planting grass seed that actually takes root and stays green.
🌱 Step 1: Test and Prepare the Soil
First, test your soil's pH—grass thrives between 6.0 and 7.0. If yours is off, add lime to raise it or sulfur to lower it, following package instructions. I like to do this 4-6 weeks before planting to let the soil adjust naturally.
Loosen the top 2-3 inches of soil with a rake or aerator. You're not digging a trench—just breaking up the crust so seeds can make contact with soil. If your lawn has thick thatch (over ½ inch), rent a dethatcher to expose fresh soil underneath. This step is critical for seed-to-soil contact, which determines whether your seeds will germinate or just sit there.
☀️ Step 2: Choose the Right Time and Conditions
Plant when daytime temperatures are between 60-75°F—spring or early fall works best. Avoid planting in summer heat or winter cold; seeds need consistent moisture and warmth to germinate. I always check the 7-day forecast before spreading seed to avoid rain delays.
Choose a day with light winds and no rain in the forecast for 48 hours. If rain is coming, water lightly after planting to keep seeds moist until natural rainfall takes over. The goal is to keep the soil surface damp but not soggy—seeds need air too, or they'll rot before sprouting.
💧 Step 3: Spread Seed Evenly and Lightly
Use a broadcast spreader for large areas or a hand spreader for small patches. Walk in a crisscross pattern to ensure even coverage—5-10 pounds per 1,000 square feet is standard for most grass types. I like to spread half in one direction and half perpendicular to avoid thick or thin spots.
Don't bury the seed—just press it lightly into the soil with a rake. Covering seeds with more than ¼ inch of soil smothers them. You'll see tiny sprouts in 7-21 days, depending on the grass type and weather. Water gently after spreading to settle the seed into the soil without washing it away.
🌿 Step 4: Water and Maintain Moisture
Keep the soil surface moist for the first 2-3 weeks—that means watering lightly 2-3 times daily if no rain falls. Use a sprinkler with a fine mist setting to avoid dislodging seeds. You'll know you're doing it right when the top ½ inch of soil stays damp but not waterlogged.
Once sprouts reach 2-3 inches tall, gradually reduce watering to 1-1.5 inches per week. This encourages deep root growth. Avoid heavy foot traffic or mowing until the grass reaches 3-4 inches in height—you don't want to tear up the delicate new roots.
✂️ Step 5: Mow and Fertilize for Long-Term Health
Set your mower to 3-4 inches and never remove more than ⅓ of the blade height at a time. Tall grass shades out weeds and builds stronger roots. I wait until the new grass is 4-6 weeks old before applying a starter fertilizer with high phosphorus to encourage root development.
After the first mow, switch to a slow-release, balanced fertilizer every 6-8 weeks during the growing season. Avoid over-fertilizing—it burns new grass and leads to thatch buildup. You'll see a thicker, greener lawn in 6-8 weeks if you keep the soil moist, mow high, and fertilize lightly.
Tips & tricks for perfect direct seed planting
Here's what nobody tells you about getting that lush lawn without the backbreaking work.
Soil Prep Secret: After loosening the top 2-3 inches of soil in Step 1, sprinkle a thin layer of compost over the area before seeding. This adds nutrients directly where roots will form, giving your new grass a head start. I mix in about ¼ inch of compost—just enough to improve soil structure without smothering seeds. This small step makes all the difference in germination rates.
Weather Watch: The 48-hour rain-free window in Step 2 is non-negotiable, but here's the pro move: set up a temporary sprinkler system before planting. This lets you water immediately if rain doesn't arrive within 24 hours. I've used soaker hoses laid flat on the ground—they deliver moisture right to the soil surface without disturbing seeds. Keep it running lightly until natural rain takes over.
Seed Distribution Technique: When spreading those 5-10 pounds per 1,000 square feet in Step 3, work in small sections—about 500 square feet at a time. This prevents overlap and ensures consistent coverage. I mark sections with spray paint or stakes to avoid missing spots. For small patches, use a hand spreader with a calibrated setting to maintain the right density. The goal is even distribution so every seed has equal access to sunlight and moisture.
Watering Hack: Instead of guessing about that ½ inch of moisture in Step 4, use a simple rain gauge or even a straight-edged container. Fill it with water and mark the ½ inch level—this becomes your visual guide. I place several around the lawn to check moisture consistency. Early morning watering (before 10 AM) minimizes evaporation, so you'll need fewer watering sessions to maintain that perfect dampness.
Pro Tips for Direct Seed Planting
- Here's what nobody tells you about getting that lush lawn without the backbreaking work.
- Soil Prep Secret: After loosening the top 2-3 inches of soil in Step 1, sprinkle a thin layer of compost over the area before seeding.
- Weather Watch: The 48-hour rain-free window in Step 2 is non-negotiable, but here's the pro move: set up a temporary sprinkler system before planting.
Frequently asked questions
Got questions about direct seed planting?
You’re not alone! Here are answers to the most common concerns—so you can skip the guesswork and get straight to growing that lush, no-dig lawn.
What’s the best time of year to direct seed my lawn?
The ideal window depends on your climate, but cool-season grasses (like Kentucky bluegrass or fescue) thrive when soil temps are 50–65°F—typically early spring or fall. Warm-season grasses (like Bermuda or Zoysia) prefer late spring to early summer (75–85°F). Avoid seeding in extreme heat or drought.
How long does it take for seeds to germinate?
Germination time varies by grass type:
- Cool-season grasses: 7–21 days
- Warm-season grasses: 7–30 days
Is direct seeding cheaper than sod, or are there hidden costs?
Direct seeding is budget-friendly upfront—seed costs far less than sod (often $0.50–$2 per sq. ft. vs. $0.80–$2 per sq. ft. for sod). Hidden costs? Time (weeding, watering) and potential reseeding if birds or weather interfere. Pro tip: Rent a seed spreader ($50–$100/day) to save labor!
How do I protect seeds from birds or squirrels?
Seed predators love fresh meals! Cover seeds lightly with straw or a thin layer of soil (¼ inch max). For stubborn critters, try:
- Bird netting over seeded areas
- Scare tactics (old CDs, wind chimes)
- Planting in small sections to finish before raiders strike
What if my lawn looks patchy after germination?
Patchiness usually means uneven seed distribution, moisture, or sunlight. Fix it by:
- Reseeding thin spots with a handheld spreader
- Watering deeply 2x/day (morning/evening) for 10–15 mins
- Thinning seedlings if overcrowded (use scissors to snip at soil level)
Wrapping up and next steps
Direct seed planting is your ticket to a thicker, greener lawn without the hassle of traditional sodding or tedious transplanting! By skipping the digging and embracing this no-fuss method, you’ll save time, money, and effort while still achieving stunning results.
Whether you’re a seasoned gardener or just starting out, this approach makes lawn care effortlessly rewarding.
Ready to transform your yard? Grab your supplies, follow the steps, and watch your lawn flourish! Start small—even a single section can make a big difference—and soon, you’ll be the envy of the neighborhood with that lush, vibrant green carpet. 🌱✨