
Propagation
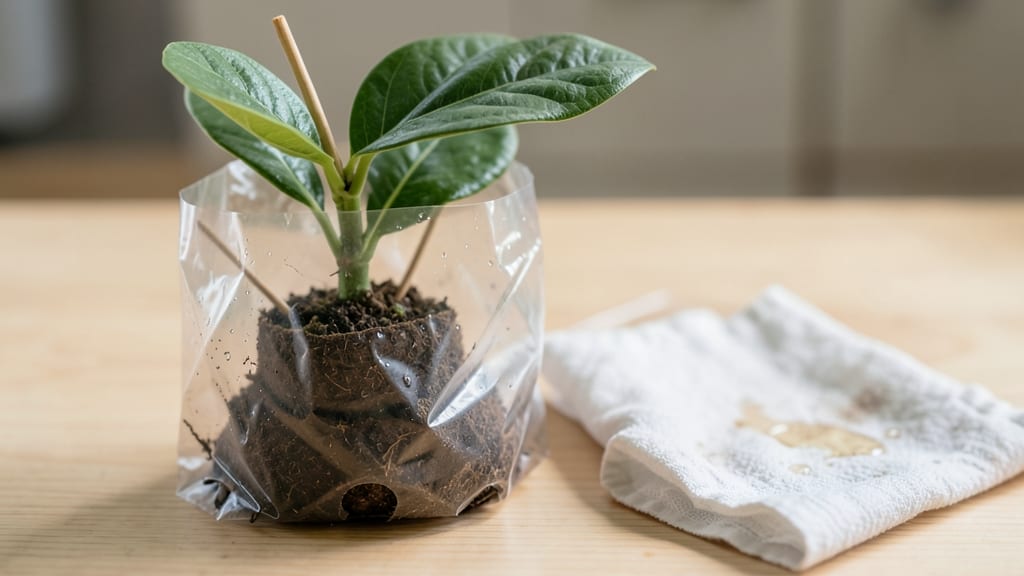
Germinating an avocado seed in a bag is the fastest way to get roots—no toothpick twisting required. 🌱 I’ve tried every method, and this one produces strong roots in 2-3 weeks while keeping the seed stable. The secret? A simple plastic bag, a little patience, and the right moisture balance.
You’ll need just three supplies: a fresh avocado seed, a plastic bag with a twist tie, and a jar of water. No fancy equipment—just what you have at home.
The process is straightforward, but the key is keeping the seed upright and the bag slightly damp, not soggy. Too much water leads to mold; too little slows growth.
Within 10-14 days, you’ll see white roots pushing through the bottom. By week three, they’ll be long enough to transplant into soil. The best part? No wobbly toothpicks or uneven germination—just steady, healthy growth you can watch unfold.
This method works year-round, whether you’re starting in spring or winter. The only real pitfall is forgetting to check the water level—roots need air too. Once your seedling has 3-4 inches of roots, it’s ready for its next adventure in soil.
📚 In This Guide
- What you need
- Instructions
- Tips and common mistakes
- Wrapping up and next steps
What you need
- ● 1 fresh avocado seed – Choose a seed from a ripe, organic avocado (the larger, the better for faster germination).
- ● 1 clear plastic bag – A ziplock-style bag (gallon or quart size) works perfectly for visibility.
- ● Toothpicks (2-3) – Standard wooden toothpicks (or small skewers) to suspend the seed.
- ● Water – Room-temperature, filtered or distilled water (chlorine-free for seed health).
- ● Paper towel or coffee filter – A single sheet to line the bag and absorb excess moisture.
- ● Scissors or knife – For trimming toothpicks or adjusting the bag if needed.
- ● Spray bottle – For gentle misting if the bag dries out.
- ● Small container or cup – To hold the toothpicks steady while assembling.
- ● Rubbing alcohol or vinegar – To sterilize toothpicks if you’re extra cautious.
- ● Grow light or sunny windowsill – Once roots sprout, indirect light speeds up growth.
- ● Notebook & pen – To track germination progress (because science!).
Step-by-Step instructions for germinating avocado seeds in a bag
Here's the simple method I've used to grow avocado seedlings with strong roots in just 2-3 weeks—no twisting required.
🌱 Step 1: Prepare the Avocado Seed and Remove the Pit
Start with a fresh avocado pit—don't use one that's been sitting out for weeks. Rinse it gently under running water to remove any remaining fruit residue. The key is to expose the seed without damaging it. I use a sharp knife to carefully slice off the pointed end where the stem was attached, about 1/4 inch down.
Next, remove the seed by gently prying it out with a butter knife or spoon. You'll see a small, dark hole where the seed was attached—this is where new roots will emerge. Keep the seed moist by wrapping it in a damp paper towel while you prepare the bag.
💧 Step 2: Set Up the Bag and Insert the Seed
Cut a 6-inch strip from a plastic bag (a grocery bag works perfectly). Fold it in half lengthwise to create a pocket, then fill it with about 2 inches of water. The water should cover the bottom but leave room for the seed to sit above it.
Place the avocado seed in the bag with the flat side down and the pointed end facing up. The seed should rest just above the waterline—this ensures it stays hydrated without rotting. Fold the top of the bag over the seed to create a secure, airtight seal, leaving just enough room for the seed to breathe.
☀️ Step 3: Position for Warmth and Light
Find a spot near a window where the temperature stays between 70-80°F. A kitchen counter or bathroom shelf works well because these areas often retain warmth. The bag should receive indirect sunlight—direct sun can overheat the seed and slow down germination.
You'll see the first signs of life in about 2-3 days when a small white root begins to emerge from the bottom. This is your cue that everything is working. Keep the water level consistent—top off as needed to maintain about 1 inch of water in the bag.
⏰ Step 4: Monitor Growth and Prepare for Transplant
Once the root reaches about 2-3 inches long, it's time to transition the seedling to soil. You'll notice a small sprout emerging from the top of the seed—this is the first true leaf. The root should be thick and white, not brown or mushy, which signals healthy growth.
Fill a small pot with well-draining potting mix and make a hole about 1 inch deep. Gently place the seedling into the hole, covering the seed but leaving the sprout exposed. Water lightly to settle the soil around the roots, and place the pot in bright, indirect light.
🌿 Step 5: Care for the Seedling and Encourage New Growth
Keep the soil consistently moist but not soggy—stick your finger in the soil about 1 inch deep. If it feels dry, water until it's evenly damp. Avoid overwatering, as this can cause the seedling to rot. Within 2-4 weeks, you should see the first true leaves unfurl.
Once the seedling has a few leaves and roots are well-established, you can transplant it to a larger pot or directly into the garden. Remember, avocado trees thrive in warm climates, so if you live in a cooler area, keep it indoors near a sunny window or under grow lights.
Tips & tricks for fast avocado seed germination
Here's what I've learned from growing dozens of avocado seedlings—these small tweaks make all the difference between a thriving plant and a failed experiment.
Seed Freshness Matters: Use pits from avocados that were ripe but not overripe when you cut them open. I've noticed older pits (even just a few days old) take twice as long to sprout. Look for a firm pit with no soft spots—this means the seed is still full of life and ready to grow. If you're using store-bought avocados, check the date on the package and pick the freshest one available.
Water Level Precision: The 1-inch water level in Step 3 is critical—too much can drown the seed, too little can dry it out. I've found that maintaining this level means checking the water every 2-3 days, especially in warmer conditions. If you see the water evaporating quickly, it might be time to move your bag to a slightly cooler spot or use a smaller bag that requires less water.
Light Positioning Secret: While indirect sunlight is ideal, I've discovered that placing the bag on an east-facing windowsill gives the perfect balance of light and warmth. The morning sun is gentle enough to prevent overheating while still providing the energy the seedling needs. If you don't have an east-facing window, a bright kitchen counter with fluorescent lighting works surprisingly well for the initial germination phase.
Transplant Timing: Don't wait until the root is exactly 3 inches long to transplant—watch for the first true leaf to appear from the top of the seed. This usually happens when the root is around 2 inches. The seedling is ready when you see both the root growing downward and the sprout emerging upward. This dual growth signal means the seed has successfully tapped into its energy reserves and is ready for the next phase.
Pro Tips for Germinate Avocado Seed In Bag
- Here's what I've learned from growing dozens of avocado seedlings—these small tweaks make all the difference between ...
- Seed Freshness Matters: Use pits from avocados that were ripe but not overripe when you cut them open. I've noticed o...
- Water Level Precision: The 1-inch water level in Step 3 is critical—too much can drown the seed, too little can dry i...
Frequently asked questions
How long does it take for an avocado seed to sprout in a bag?
The magic happens in 2–4 weeks—sometimes even faster! You’ll spot tiny roots peeking out of the seed after about 10–14 days. Patience is key, but if you don’t see roots in 3–4 weeks, check your moisture levels or try adjusting the angle of the seed in the bag.
What if my avocado seed isn’t sprouting after weeks?
Don’t worry—it might just need a little encouragement! First, ensure the toothpicks aren’t too tight (they should hold the seed loosely). Check the water level—it should stay damp but not soggy. If the seed feels mushy or moldy, start fresh with a new seed and clean supplies. Sometimes, older or damaged seeds take longer (or don’t sprout at all).
Can I use a plastic bag instead of a zip-top bag?
Any clear plastic bag (like a grocery bag or sandwich bag) works—just make sure it’s large enough to accommodate the seed and toothpicks without crowding. The key is creating a humid, airtight environment. Poke a few tiny holes if condensation builds up too much to prevent mold.
How do I know when the seed is ready to plant?
Your seed is ready when roots reach 2–3 inches long and you see a tiny green shoot (the plant’s first leaves) emerging from the top. Once roots are this size, gently remove the seed from the bag, rinse off any residue, and plant it halfway in moist potting soil. Keep it in bright, indirect light!
What if my avocado seed sprouts but the plant dies later?
This is common! Avocado seedlings are delicate and need consistent care. Overwatering (root rot) or underwatering (dry roots) are top culprits. Use well-draining soil, water only when the top inch feels dry, and place it in bright, indirect sunlight. If pests like fungus gnats appear, reduce moisture and use organic neem oil.
Wrapping up and next steps
Germinating an avocado seed in a bag is a simple, rewarding way to grow your own plant—no fancy tools or twisting required! 🌱 With just a few supplies and patience, you’ll see roots sprouting in just 2-3 weeks.
Now that you’ve mastered the method, why not take the next step?
🌿 Ready to Grow?
Once your avocado seedling has strong roots, it’s time to transplant it into soil and watch it thrive! Keep an eye on its progress, and soon you might even enjoy homegrown avocados (if you’re in the right climate). Happy growing! 🌟