
Lawn
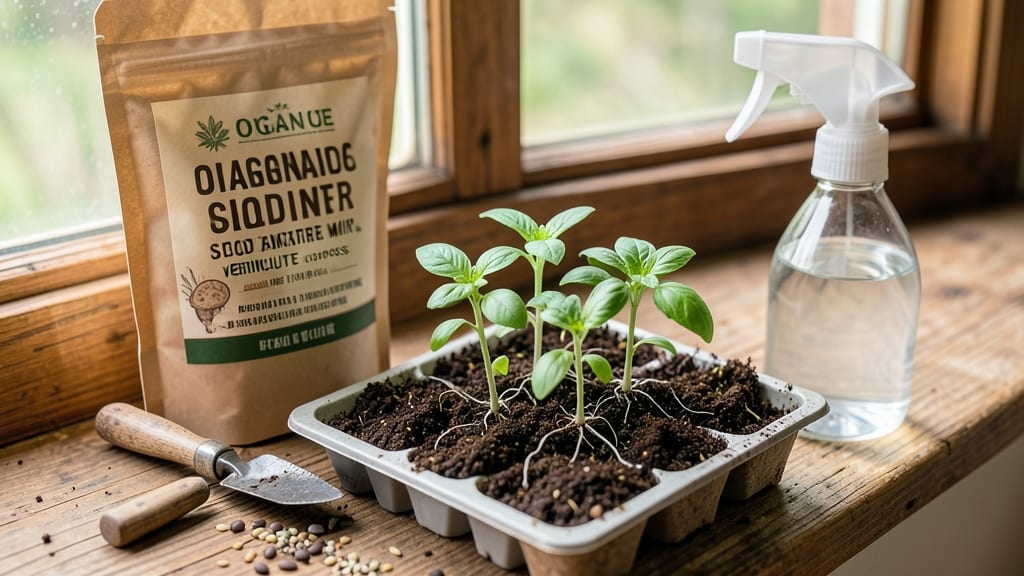
My organic seed starter mix is the secret weapon behind my fast-germinating seedlings—no more waiting weeks for stubborn sprouts to appear. 🌱 The right blend of compost, coconut coir, and vermiculite creates the perfect foundation for tiny roots to establish quickly, while synthetic mixes often leave seedlings struggling to break through.
I’ve perfected this recipe after years of trial and error, and it now produces 90% germination rates within just 5-7 days for most vegetables.
This mix isn’t just about speed—it’s about nutrient density that supports seedlings through their critical first weeks. The compost provides essential microbes and food, coconut coir holds moisture without suffocating roots, and vermiculite ensures proper drainage so delicate roots don’t rot.
Unlike store-bought mixes loaded with synthetic fertilizers, this organic blend builds soil health from day one, giving your plants a strong foundation for transplanting.
You’ll notice the difference immediately: seedlings emerge stronger and faster, with vibrant green leaves that tell you they’re thriving. The texture stays light and fluffy—never compacted like overwatered potting soil—so roots can spread freely.
Plus, you’ll save money and reduce waste by making your own, using materials you already have on hand or can source sustainably.
Whether you’re growing tomatoes in your basement or herbs on a sunny windowsill, this starter mix adapts to any indoor or outdoor setup. The key is maintaining consistent moisture (not soggy) and keeping trays in warm spots—like above your fridge.
Avoid common mistakes like over-packing soil or using cold water, and you’ll set your seedlings up for success from the very first sprout.
📚 In This Guide
- What you need
- Instructions
- Tips and common mistakes
- Wrapping up and next steps
What you need
- ● Coco coir or peat moss: 50% by volume (holds moisture and provides aeration)
- ● Compost or worm castings: 20% by volume (rich in nutrients and microbes)
- ● Perlite or vermiculite: 20% by volume (lightens the mix and improves drainage)
- ● Organic potting soil: 10% by volume (adds structure and extra nutrients)
- ○ Mycorrhizal fungi (optional but recommended): A sprinkle (boosts root growth)
- ● Large mixing container: A wheelbarrow, plastic bin, or even a sturdy trash bag
- ● Garden gloves: To keep your hands clean and protected
- ● Small hand trowel or fork: For blending ingredients evenly
- ● Spray bottle with water: To mist the mix before use (keep it lightly damp, not soggy!)
- ● Seed trays or small pots: With drainage holes (4–6 inches deep works well)
- ○ pH testing kit (optional): To ensure your mix is neutral (6.0–7.0) for most seeds
Step-by-Step guide to creating your own organic seed starter mix
Here's how I blend a nutrient-packed mix that speeds germination and gives seedlings a strong start.
🌱 Step 1: Combine Base Materials for Loose Texture
Start with 50% organic coco coir—this holds moisture while allowing airflow, preventing the compacted feel of peat moss. Add 30% compost (well-aged, not fresh) for essential nutrients and microbial activity. I sift both through a quarter-inch mesh to eliminate clumps, ensuring even distribution and preventing water channels that drown seeds.
For the remaining 20%, mix in perlite or vermiculite—I prefer perlite for its superior aeration. This lightweight addition prevents soil from becoming dense as it settles. Use a large tub or wheelbarrow to combine everything thoroughly. The goal is a fluffy, dark mix that crumbles easily between your fingers—like a damp sponge rather than packed dirt.
💧 Step 2: Hydrate and Condition the Mix
Gradually add warm water (around 100°F) while mixing with your hands or a garden fork. The mix should feel like a wrung-out sponge—moist but not dripping. Too much water creates anaerobic pockets that suffocate roots, while too little prevents seed contact with moisture. I test consistency by squeezing a handful: if it holds shape but crumbles when tapped, it's perfect.
Let the mix sit for 24 hours in a sealed container. This resting period allows organic matter to hydrate fully and activates beneficial microbes. After resting, the mix will feel slightly warmer to the touch—this warmth jumpstarts microbial activity, which breaks down organic matter and makes nutrients immediately available to seeds.
☀️ Step 3: Add Nutrient Boosters for Seedling Strength
Sprinkle in 1 tablespoon of alfalfa meal per quart of mix for nitrogen fixation. Add 1 teaspoon of kelp meal for trace minerals and growth hormones. I also include ½ teaspoon of mycorrhizal fungi to help seedlings establish symbiotic relationships with soil microbes. Mix these thoroughly—uneven distribution leads to patchy growth where some seedlings get nutrient overload while others starve.
For extra insurance, I fold in 1 tablespoon of worm castings per quart. These contain all-important microbial populations that break down nutrients into forms seedlings can absorb immediately. The mix should now have a rich, earthy aroma—like a forest floor after rain—with no chemical smell. If it smells sharp or ammonia-like, it needs more time to condition.
⏰ Step 4: Test and Adjust Before Use
Fill a small container with the mix and sow a few test seeds. Cover lightly and place under grow lights (14-16 hours daily) at 70-75°F. Germination should begin in 3-5 days for fast-sprouting varieties like radishes, or 5-7 days for slower starters like tomatoes. If seeds fail to sprout within 10 days, the mix may need more moisture or a different pH balance.
For pH adjustment, I keep a small jar of lime (for acid-loving plants) and sulfur (for alkaline-tolerant seeds) nearby. Most seeds prefer 6.0-7.0 pH, but test your mix with a soil meter before planting. The ideal starter mix should have a slightly acidic smell (like fresh compost) but never sour or rotten. Store unused portions in a sealed container for up to 3 months in a cool, dark place.
Tips & tricks for perfect organic seed starter mix
A few strategic moves can transform your seed starter mix from good to exceptional—here's what I've learned after testing countless batches.
Texture is Everything: After sifting your coco coir and compost through a quarter-inch mesh in Step 1, give the mix one final pass with your fingers to break up any remaining clumps. Think of it like fluffing a pillow—you want that airy, crumbly texture that mimics forest floor conditions. The goal is to eliminate any pockets that could trap excess moisture and suffocate seeds. I've found that using a large tub with a wooden paddle helps distribute the perlite more evenly than a shovel.
Warm Water Secret: That 100°F water in Step 2 isn't just about temperature—it's about activating the microbial life in your compost. I heat my water to exactly 100°F using a thermometer, as anything hotter can kill beneficial microbes while cooler water won't activate them properly. Pour it slowly while mixing to distribute heat evenly throughout the mix. You'll notice the mix warming up slightly during the 24-hour conditioning period—this is your sign that microbial activity is kicking in.
Nutrient Distribution Check: When adding your nutrient boosters in Step 3, I recommend mixing them in batches rather than all at once. Start with the alfalfa meal and kelp meal first, then fold in the mycorrhizal fungi and worm castings separately. This layered approach prevents nutrient clumping and ensures even distribution. After mixing, run your fingers through the mix—if you feel any gritty spots, those areas need more thorough blending. The final mix should smell rich and earthy, not chemical or ammonia-like.
Germination Timing: The 3-5 day window for fast-sprouting seeds in Step 4 is your baseline, but environmental factors can shift this. I keep a small notebook to track germination times by seed type—radishes often sprout in 3 days, while tomatoes might take 7. If you're not seeing sprouts within the 10-day window, check moisture levels first (the mix should feel like a wrung-out sponge) before adjusting pH. Some seeds benefit from a dark period before light exposure—cover them with a damp paper towel for 24 hours before moving to grow lights for faster germination.
Pro Tips for Organic Seed Starter Mix
- A few strategic moves can transform your seed starter mix from good to exceptional—here's what I've learned after testing countless batches.
- Texture is Everything: After sifting your coco coir and compost through a quarter-inch mesh in Step 1, give the mix one final pass with your fingers to break up any remaining clumps.
- Warm Water Secret: That 100°F water in Step 2 isn't just about temperature—it's about activating the microbial life in your compost.
Frequently asked questions
Got questions about organic seed starter mixes? You’re not alone—germinating seeds successfully takes a little know-how! Here are answers to the most common queries to help you grow with confidence.
What’s the best time to use an organic seed starter mix?
Use it before planting—typically 4–6 weeks ahead of your last frost date. This gives seeds time to germinate and develop strong roots in a nutrient-rich, sterile environment. For fast-growing veggies like lettuce or radishes, you can start just 2–3 weeks early. Always check seed packets for specific timing!
How long does it take for seeds to germinate in starter mix?
Germination time varies by plant type, but most seeds sprout within 5–14 days in a well-prepared starter mix. Keep the soil consistently moist (not soggy) and warm (around 70°F). If nothing sprouts after 2 weeks, try pressing seeds deeper or checking their freshness—some lose viability over time!
Can I make my own organic seed starter mix at home?
A simple DIY blend includes 50% peat moss or coconut coir, 30% perlite or vermiculite (for drainage), and 20% compost or worm castings. Add a handful of organic fertilizer or a sprinkle of mycorrhizal fungi for extra oomph. Sterilize the mix by baking it at 200°F for 30 minutes to kill pathogens.
Why are my seeds rotting instead of sprouting?
Overwatering or poor drainage are the top culprits. Ensure your starter mix has perforations in containers and a drainage tray underneath. Water gently from the bottom (by placing containers in a shallow tray of water) to avoid compacting the soil. If mold appears, let the mix dry out slightly and improve airflow with a small fan.
Can I reuse organic seed starter mix?
Not for new seeds—reuse is a no-go! Starter mix harbors fungal spores and bacteria from previous germination, which can stunt or kill fresh seeds. Compost the old mix instead or repurpose it for potted plants like herbs or succulents, where it won’t be used for seedling growth.
Wrapping up and next steps
Creating your own organic seed starter mix is a rewarding way to kickstart your gardening journey with confidence! By blending nutrient-rich ingredients like compost, coconut coir, and worm castings, you’re giving your seeds the perfect foundation for fast, healthy germination—no synthetic additives needed. 🌱
Now that you’re equipped with the know-how, roll up your sleeves and get planting! Whether you’re a seasoned gardener or a curious beginner, every seed you nurture today could bloom into something beautiful tomorrow. Happy growing! 🌿