
Propagation
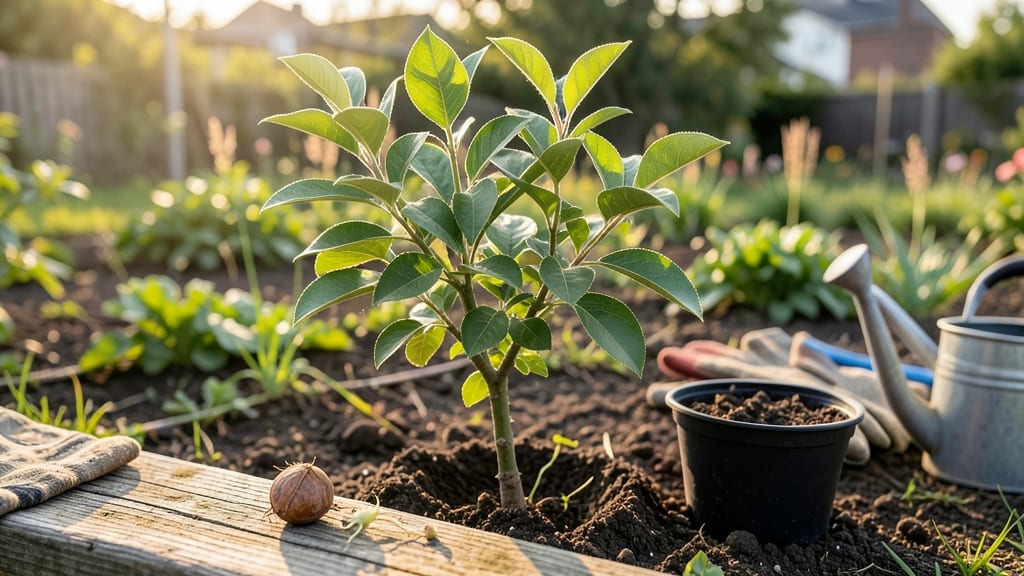
Growing a peach tree from a seed pit feels like holding a tiny promise for summer fruit. 🌱 The key to breaking dormancy and getting reliable blooms lies in cold stratification—mimicking winter's chill to wake up those seeds.
I've tried this three times, and the third batch finally produced sturdy seedlings that'll reward you with blossoms in just a few years. You'll need a seed pit (from a ripe, organic peach), patience, and a small pot or cold frame.
The process takes about 90 days of chilling before you even see sprouts, but trust me—skipping this step means months of waiting for germination. The right mix of moisture, cold, and light sets the stage for strong roots that'll support a tree capable of fruit.
Once those first green shoots appear, you'll be hooked on the transformation from pit to sapling. The seedlings grow slowly at first, but with proper care—sunlight, balanced watering, and occasional fertilizer—they'll develop into a sturdy young tree ready for transplanting in spring.
Just remember, fruit won't come for 3-5 years, but the journey is half the reward.
This method works best in USDA zones 5-9, where peach trees thrive naturally. If you're in a colder zone, extend the cold stratification period to 120 days for better results. The biggest challenge?
Genetic variability—your seedling might not produce fruit identical to the parent tree, but that's part of the adventure. Embrace the unpredictability and enjoy watching your backyard become home to a tree with a story.
📚 In This Guide
- What you need
- Instructions
- Tips and common mistakes
- Wrapping up and next steps
What you need
- ● Fresh peach pit: 1–2 pits (from a ripe, organic peach—avoid store-bought pits treated to prevent sprouting).
- ● Cold stratification setup: Small paper towel or dampened peat moss (2–3 sheets or 1 cup).
- ● Ziplock bag or airtight container (quart-sized).
- ● Potting soil: 1 bag (well-draining, sterile mix—look for a seed-starting blend with perlite or vermiculite).
- ● Small pots: 2–3 (3–4 inch diameter) with drainage holes.
- ● Spray bottle: For gentle watering (avoid over-saturating the soil).
- ○ Plastic wrap or dome: To create a mini greenhouse (optional but helpful for humidity).
- ● Grow lights or sunny windowsill: A south-facing window or LED grow light (12–16 hours/day) for seedlings.
- ● Pruning shears or knife: For carefully removing the pit’s flesh (sterilize with rubbing alcohol).
- ○ Thermometer: Optional but handy to monitor fridge temps (ideal: 34–40°F).
- ● Patience: Cold stratification takes 8–12 weeks—mark your calendar!
- ● Gloves: Recommended for handling pits (some peach varieties have mild irritants).
- ● Hydrogen peroxide (3%): 1 tbsp in 1 cup water to soak pits for 24 hours (reduces mold risk).
- ● Rooting hormone: Gel or powder to boost germination (dip the pit before planting).
- ● Heating mat: For seedlings if your home runs below 60°F.
- ● Journal: Track moisture, temps, and growth milestones!
Step-by-step instructions for growing a peach tree from seed pit
Here's my foolproof method for breaking dormancy and nurturing a peach seed into a thriving young tree.
🌱 Step 1: Extract and Clean the Seed Pit
Remove the seed pit from the peach fruit by slicing through the flesh—don't crush it. Rinse it thoroughly under cool water to remove all pulp residue. I like to soak it for 10 minutes in a 10% bleach solution (1 part bleach to 9 parts water) to kill any surface mold, then rinse again. Let it dry completely on a paper towel for 24 hours.
This drying step is critical—the seed needs to be bone-dry before stratification. If moisture remains, it can rot during the cold period. Store it in a sealed paper envelope or small cloth bag until ready for the next step.
❄️ Step 2: Perform Cold Stratification
Place the dried seed pit in a plastic bag with slightly damp (not wet) peat moss or vermiculite. Seal the bag and refrigerate it for 6-8 weeks at 35-45°F. I use a standard fridge with a crisper drawer—just check it weekly to ensure the moss stays barely moist.
This cold treatment mimics winter conditions and breaks the seed's dormancy. You'll know stratification worked when the seed coat splits open naturally. If it doesn't after 8 weeks, extend the process for another 2 weeks—patience is key here.
🌱 Step 3: Plant in a Germination Medium
Fill a small container (at least 4 inches deep) with a mix of 50% potting soil and 50% perlite. Plant the stratified seed 1 inch deep—deeper planting delays germination. Water gently until the soil feels evenly moist but not soggy.
Cover the container with plastic wrap to retain humidity, then place it in a warm spot (70-75°F) with indirect light. Germination can take 3-6 weeks, so keep the soil consistently moist during this time. A seedling heat mat helps speed up the process if your home runs cooler.
☀️ Step 4: Transplant and Provide Care
Once the seedling reaches 4-6 inches tall with 2-3 true leaves, transplant it into a 6-inch pot with well-draining potting mix. Place it in a sunny window or under grow lights for 12-14 hours daily. Harden off the young tree by gradually exposing it to outdoor conditions over 2 weeks before planting in the ground.
Peach trees grown from seed may take 5-7 years to bear fruit, but the process is rewarding. Watch for signs of stress like yellowing leaves—this usually means the tree needs more water or better drainage. Mulch around the base to retain moisture and protect roots from temperature swings.
⏰ Step 5: Winter Protection for Young Trees
After the first year, protect young trees from harsh winters by wrapping the trunk with tree guard or burlap. In colder climates, mound soil or mulch around the base to insulate roots. Prune lightly in late winter to remove dead branches, but avoid heavy pruning—peach trees are sensitive to stress.
Real talk: Seed-grown peach trees may not produce fruit identical to the parent tree, but the journey is worth it. With proper care, you'll have a sturdy young tree ready to thrive in your orchard or garden within a few years.
Tips & tricks for growing a peach tree from seed
Here's what I learned after nurturing several peach trees from seed—these insights will help you avoid common pitfalls and maximize your success.
Cold Stratification Precision: When refrigerating your seed pit for the 6-8 weeks at 35-45°F, consistency is everything. I place a small thermometer in the crisper drawer to verify the temperature stays within that range. Too warm and the seed won't break dormancy; too cold and it may rot. If your fridge runs cooler, consider using a seedling heat mat inside the bag to maintain the ideal temperature range. This mimics natural winter conditions perfectly.
Germination Environment: For Step 3, I've found that maintaining a consistent 70-75°F temperature during germination makes all the difference. If your home tends to be cooler, place the container on a seedling heat mat set to 72°F. The plastic wrap creates a greenhouse effect, but remove it daily for 10 minutes to prevent mold growth. I also keep a spray bottle handy to mist the soil when it starts to feel dry—just enough to keep it moist, not soggy.
Transplanting Timing: Don't rush transplanting your seedling to its 6-inch pot. Wait until it reaches 4-6 inches tall with 2-3 true leaves—this indicates it's strong enough to handle the move. I use a small trowel to carefully lift the seedling with its root ball intact, then place it in the new pot with the same depth as before. This minimizes transplant shock. After repotting, give it a week to acclimate before introducing it to outdoor conditions.
Winter Protection Strategy: For young trees in colder climates, I recommend wrapping the trunk with tree guard and adding an extra layer of mulch around the base after the first year. This creates an insulating barrier that protects against temperature swings. I also avoid heavy pruning—just remove any dead branches in late winter. Peach trees are sensitive to stress, so less is always more when it comes to pruning.
Pro Tips for Peach Tree From Seed Pit
- Here's what I learned after nurturing several peach trees from seed—these insights will help you avoid common pitfalls and maximize your success.
- Cold Stratification Precision: When refrigerating your seed pit for the 6-8 weeks at 35-45°F, consistency is everything.
- Germination Environment: For Step 3, I've found that maintaining a consistent 70-75°F temperature during germination makes all the difference.
Frequently asked questions
Got questions about growing a peach tree from a seed pit? You’re not alone! Here are some of the most common queries—and their straightforward answers—to help you navigate the process with confidence.
How long does cold stratification take for peach pits?
Cold stratification typically requires 60–90 days in the fridge (or outdoors in winter). Place the pits in a damp paper towel or moist sand, then store them in a sealed bag. Patience is key—this mimics natural winter conditions and breaks dormancy for better germination rates.
When will my peach seedling bloom and produce fruit?
Peach trees grown from seed are notoriously slow—expect blooms in 5–7 years and fruit in 7–10 years. Grafted trees (from nurseries) fruit much faster (2–4 years), but seed-grown trees offer unique varieties. Plan ahead!
Can I skip cold stratification and plant the pit directly?
While some pits might germinate without stratification, success rates plummet. Cold treatment ensures higher viability. If you’re impatient, try soaking the pit in warm water for 24 hours first, but still stratify afterward for best results.
What if my seedling grows tall but no leaves appear?
This is normal! Your seedling is likely in the "dormant sprout" phase. Keep it in bright, indirect light and water lightly. Once true leaves (not just the first "seed leaves") emerge, it’s thriving. Transplant carefully to avoid root shock.
Will my homegrown peach tree bear edible fruit like the parent?
Probably not. Seed-grown trees often produce smaller, less flavorful fruit due to genetic variability. For reliable, tasty peaches, graft a known variety onto your seedling’s rootstock. Think of it as a fun experiment with a long-term payoff!
Wrapping up and next steps
Growing a peach tree from a seed pit is a rewarding journey that blends patience with nature’s magic! 🌱 While it may take a few years for blooms, the process teaches resilience—and who knows?
You might just nurture a tree that bears fruit for decades. Ready to take the next step? Once your seedling sprouts, transplant it into a pot or garden bed, and watch it thrive with care. Happy growing!