
Lawn
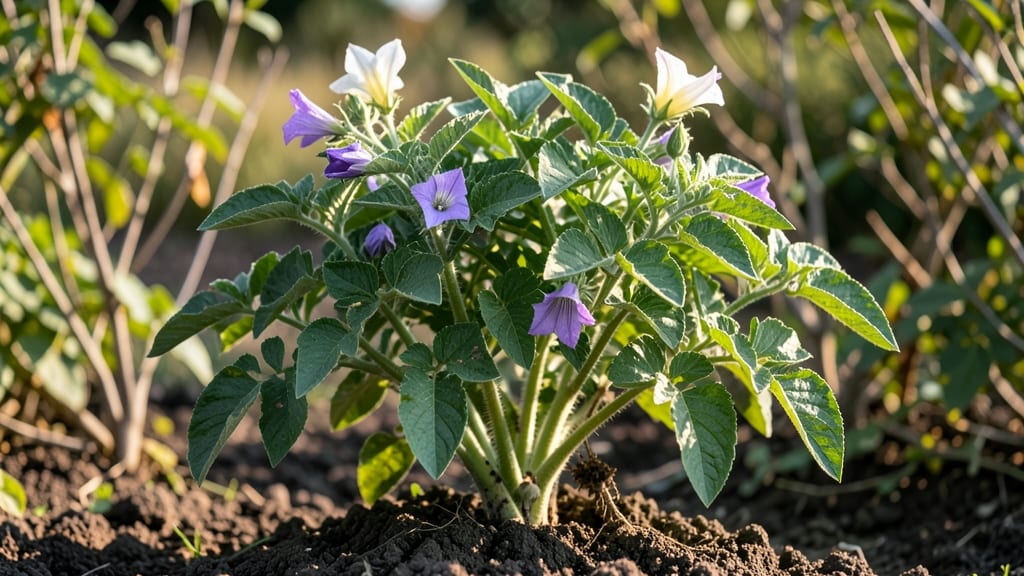
Growing potatoes from seed potatoes saves money and guarantees varieties store-bought spuds can't match. 🌱 I've turned my backyard into a potato powerhouse by mastering the simple steps that turn small tubers into a mountain of harvest—no green thumb required, just patience and a little dirt magic.
The secret starts with chitting—letting your seed potatoes sprout indoors before planting. This gives you a head start and stronger plants that emerge faster in the garden.
You'll need well-draining soil, a sunny spot (at least 6 hours of sun daily), and patience—potatoes take about 90 days from planting to harvest, but every bite is worth the wait. By harvest time, you'll be digging up 5-10 pounds of potatoes per plant (yes, really!) with minimal effort.
The key is hilling soil around the stems as they grow, which encourages more tubers to form underground. No fancy equipment needed—just a fork, some compost, and a little elbow grease.
Works for both small gardens and larger plots, and the same method applies whether you're growing red, Yukon Gold, or fingerling varieties. Ready to turn those humble seed potatoes into next year's dinner table staple?
📚 In This Guide
- What you need
- Instructions
- Tips and common mistakes
- Wrapping up and next steps
What you need
- ● Potato seeds: Choose disease-resistant varieties like Yukon Gold, Red Pontiac, or Kennebec. Aim for 2–3 lbs (about 5–10 lbs of seeds per 100 sq ft of garden space).
- ● Garden soil: Well-draining, loamy soil with a pH of 5.0–6.5. Mix in 2–3 inches of compost or aged manure for nutrients.
- ● Fertilizer: A balanced 10-10-10 or organic fertilizer (e.g., fish emulsion or bone meal) to boost growth.
- ● Mulch: Straw or grass clippings (2–3 inches) to retain moisture and suppress weeds.
- ● Watering can or hose: For gentle, consistent hydration (avoid overhead sprinklers to prevent disease).
- ● Garden gloves: A pair to protect your hands from dirt and sharp tools.
- ● Hand trowel or transplanting spade: For digging small holes (4–6 inches deep).
- ○ Garden fork: To loosen soil before planting (optional but helpful for heavy clay).
- ● Potato harvester or fork: A 3-tined fork works great for digging up mature tubers without damaging them.
- ○ Pruners or sharp knife: To trim excess foliage before harvest (optional but recommended for larger potatoes).
- ● Bucket or mesh bag: For collecting harvested potatoes (avoid plastic bags to prevent condensation).
- ● Row covers: Lightweight fabric to protect seedlings from pests or frost.
- ● Soil tester kit: To check pH and nutrient levels before planting.
- ● Potato storage box: A ventilated container to cure and store tubers in a cool, dark place.
- ● Organic pesticide (e.g., neem oil): For treating blight or other common potato pests.
How to save potato seeds stress-free for next year’s garden
Here’s the simple method I’ve used for years to turn this year’s harvest into next year’s plants—no fancy tools or guesswork.
🌱 Step 1: Select and Cure Your Healthiest Potatoes
Choose 4-5 of the largest, firmest potatoes from your harvest—these will produce the best seed potatoes. Avoid any with blemishes, soft spots, or signs of disease. Lay them out in a single layer on a wire rack or mesh screen in a cool, dark, well-ventilated spot (like a basement or garage). This curing process takes 2-4 weeks at 50-60°F. You’ll know they’re ready when the skins toughen and the potato’s starch converts to sugar.
Don’t skip this step—it’s what prevents future rot and ensures strong sprouts. If you’re impatient, a paper bag with holes works in a pantry, but avoid plastic (it traps moisture and causes mold). Check weekly for sprouts—those are your future plants!
🌱 Step 2: Chit (Sprout) the Potatoes Indoors
Once cured, move the potatoes to a bright, cool window (like a north-facing one) or under grow lights for 4-6 weeks. Place them in an egg carton or seed tray with the eyes (buds) facing up—this prevents tangled sprouts. Keep them at 60-65°F during the day and 50-55°F at night for best results. You’ll see green sprouts (chits) about 1-2 inches long—these are your planting cues.
Here’s the thing—if sprouts grow too long before planting, they’ll be weak. Aim for 1-2 inch chits before transplanting. A spray bottle keeps them moist without drowning the potatoes. If sprouts turn yellow or leggy, move them to a sunnier spot immediately.
🪴 Step 3: Plant the Chitted Seed Potatoes
Plant each potato 4-6 inches deep in well-draining soil, spacing them 12-18 inches apart in rows 24-36 inches apart. The eyes should face up—burying them upside down wastes energy and stunts growth. If your soil is heavy clay, mix in 2-3 inches of compost per planting hole to improve drainage. Water lightly right after planting to settle the soil.
Don’t rush—wait until all danger of frost has passed (usually after your last frost date). If planted too early, cold soil slows sprouting. A mulch layer of straw (2-3 inches) keeps soil moist and suppresses weeds. You’ll see sprouts emerge in 2-3 weeks—that’s your signal everything’s working!
☀️ Step 4: Maintain for a Strong Harvest
Keep the soil evenly moist but never soggy—potatoes need 1-1.5 inches of water per week, but more during flowering and tuber formation. A drip irrigation system works best to avoid wetting leaves (which spreads disease). When plants flower, reduce nitrogen-rich fertilizer—too much greenery means fewer potatoes. Instead, switch to a low-nitrogen, high-phosphorus feed to boost tuber growth.
Watch for volunteer potatoes (tiny tubers forming early)—these are a sign your plants are thriving. When top growth yellows and dies back, it’s time to harvest. Dig gently with a fork to avoid piercing the tubers. Cure them again for 1-2 weeks in a dark, dry place before storing.
⏰ Step 5: Store Until Next Planting Season
Store your cured potatoes in a cool (40-50°F), dark, humid (85-90% humidity) spot—like a root cellar or basement. A paper bag with a few apple cores (for ethylene gas) helps maintain moisture. Check monthly for sprouts or rot—remove any bad ones immediately. With proper storage, your seed potatoes stay viable for 3-4 years, though they’re freshest the first year.
Here’s my pro tip: Label each variety with the year and planting date. Next spring, you’ll know exactly when to plant them for peak performance. And if you end up with more seed potatoes than you need? Share them with fellow gardeners—every good harvest deserves to multiply!
Tips & tricks for perfect potato seed saving
These simple strategies will help you avoid common pitfalls and maximize your next year's potato harvest.
Potato Selection: In Step 1, don't just grab any potatoes—look for varieties that perform well in your climate. Fingerling potatoes often produce smaller seed potatoes, while russets or Yukon Golds tend to yield larger, more reliable ones. I've found that organic potatoes often have stronger sprouting potential than conventional ones, so if you have the option, choose organic for better results.
Temperature Control: Maintaining the exact temperatures in Step 2 (60-65°F during the day and 50-55°F at night) is crucial for healthy chitting. If your home doesn't naturally maintain these temps, consider using a small greenhouse or even a sunny windowsill with a heat mat during cooler months. I've had success with a simple LED grow light on a timer to supplement natural light during cloudy periods.
Planting Strategy: When planting in Step 3, consider creating small hills of soil rather than flat rows. This natural drainage method helps prevent waterlogging, which can cause rot. For containers, use at least 12-inch deep pots with drainage holes—this mimics the depth of in-ground planting and gives roots plenty of room to grow downward.
Storage Wisdom: For Step 5 storage, if you don't have a root cellar, a dark closet with good airflow works surprisingly well. I've had great results using a large plastic bin with ventilation holes and a humidity tray filled with pebbles and water. The key is to maintain that 85-90% humidity—you can check this with a simple hygrometer if you're unsure.
Pro Tips for Seed Of Potatoes
- These simple strategies will help you avoid common pitfalls and maximize your next year's potato harvest.
- Potato Selection: In Step 1, don't just grab any potatoes—look for varieties that perform well in your climate. Finge...
- Temperature Control: Maintaining the exact temperatures in Step 2 (60-65°F during the day and 50-55°F at night) is cr...
Frequently asked questions
Got questions about saving potato seeds for next year’s garden? You’re not alone! Here are answers to the most common queries—so you can harvest with confidence and grow a thriving crop.
How do I know if my potatoes are ready to harvest for seed?
Wait until the foliage (leaves and stems) has fully yellowed and died back—usually 2–3 weeks after flowering. Dig up a few test potatoes to check for well-developed, firm sprouts (eyes). If they’re small but have healthy growth, they’re ready for seed!
Can I store potato seeds like regular potatoes?
Nope! Store seed potatoes in a cool, dark, and humid place (like a paper bag in the fridge) for up to 2–3 months. Avoid plastic bags—they trap moisture and cause rot. Pro tip: Label them with the variety and harvest date to stay organized!
Are seed potatoes safe to eat if I change my mind?
Yes, but they’re not ideal for eating. Seed potatoes are smaller, often bitter, and may have more toxic glycoalkaloids (natural compounds) than table potatoes. If you’re desperate for a meal, peel and cook them thoroughly—but save the best ones for planting!
What if my seed potatoes sprout too early or rot in storage?
If sprouts appear early, store them in a mesh bag or egg carton to prevent rubbing. For rot, check for soft spots or mold—discard affected tubers immediately. Prevent rot: Cure potatoes for 1–2 weeks in a warm (50–60°F), dry place before storing.
Can I use store-bought potatoes as seed?
Technically yes, but it’s risky! Store-bought potatoes are often treated to prevent sprouting or may carry diseases. For best results, buy certified organic seed potatoes from nurseries. If you DIY, choose organic, heirloom varieties and inspect for pests before planting.
Wrapping up and next steps
Saving potato seeds is a rewarding way to ensure a thrifty, sustainable, and bountiful harvest next season! By following the right steps—like selecting healthy tubers, proper curing, and smart storage—you’ll set yourself up for success.
Whether you’re a seasoned gardener or just starting out, this simple process makes growing potatoes easier and more cost-effective.
Ready to plant the seeds of your future harvest? Grab those cured potatoes, mark your calendar, and get ready to watch your garden thrive! 🌱💚 Next up: Plan your planting schedule and choose the perfect spot for your next potato patch—your future meals (and savings) will thank you!