
Propagation
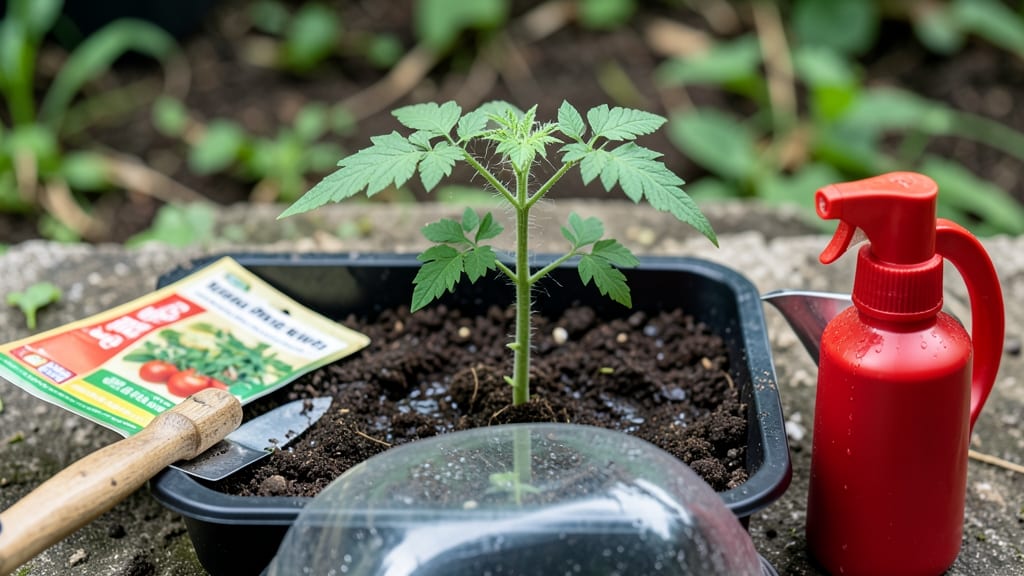
Tomato seed germination starts with a simple viability test that saves you from planting dead seeds. 🌱 I used to waste weeks waiting for seeds that never sprouted—until I learned this trick that tells me in days whether my seeds are worth planting. The secret?
A damp paper towel and a warm spot. You'll need just three things: a plastic bag, a damp paper towel, and your seeds. Place the seeds between the towel layers, seal them in the bag, and set it on top of your fridge.
Within 5-7 days, you'll see tiny roots or sprouts—if not, those seeds are done for. This test works for any tomato variety and cuts planting time in half. Once you confirm viable seeds, you'll move to a warm, well-lit spot with consistent moisture.
The right setup means strong seedlings ready for transplanting in 10-14 days, not weak, leggy sprouts that struggle. I've never had better germination rates since I started this method. This technique works for heirlooms, hybrids, and even those old seeds in your junk drawer.
No fancy equipment needed—just patience and a little warmth. Let's get those seeds sprouting right!
📚 In This Guide
- What you need
- Instructions
- Tips and common mistakes
- Wrapping up and next steps
What you need
- ● Tomato seeds: 10–20 fresh seeds (preferably from a trusted source or your own harvest). Pro tip: 💡 Label them with the variety name (e.g., "Cherry Roma") for tracking!
- ● Germination medium: Option 1: 2–3 sheets of paper towels (white or brown, unbleached)
- ● Option 2: 1–2 cotton pads (sterile, seedling-friendly)
- ● Option 3: 1 small plastic bag (ziplock, 4"x6" or larger) + 2–3 paper towels
- ● Spray bottle: 1 (with water) for gentle moistening. Pro tip: 🌡️ Use room-temperature water to avoid shocking the seeds!
- ● Clear container: 1 (e.g., a small plastic box with a lid, or a glass jar with a loose-fitting cover).
- ● Permanent marker: 1 (for labeling seeds and containers).
- ● Ruler or measuring tape: 1 (to track seed spacing if testing multiple varieties).
- ○ Heating mat: 1 (optional for faster germination, set to 70–80°F).
- ● Seedling tray: 1 (for transplanting viable seeds later).
- ● Grow lights: 1–2 (if extending daylight for early seedlings).
- ● Notebook or app: 1 (to log germination dates and observations).
- ● Humidity dome: 1 (small, for maintaining moisture post-germination).
- ● Time: Dedicate 5–10 minutes daily for monitoring (germination can take 5–14 days, depending on variety and conditions).
- ● Space: A warm, well-lit area (e.g., windowsill, kitchen counter, or basement with a heat mat).
- ● Patience: Some seeds may germinate faster than others—don’t rush the process!
Step-by-step instructions for testing tomato seed viability
Skip the guesswork—this foolproof method tells you which seeds will sprout before you commit to planting.
🌱 Step 1: Soak Seeds in Lukewarm Water
Place all your tomato seeds in a small bowl and cover them with lukewarm water (about 70°F) until fully submerged. Let them soak for 12-24 hours. You'll see good seeds plump up and sink to the bottom—discard any that stay floating or remain shriveled. This step also softens the tough outer coating, making germination easier.
I like to use a clear glass so I can watch the seeds transform right before my eyes. After soaking, gently drain them in a fine-mesh strainer and let them air-dry for 10 minutes on a paper towel. This prevents mold while keeping them hydrated for the next step.
💧 Step 2: Sandwich Between Damp Paper Towels
Fold two paper towels into quarters and place them in a shallow container or resealable plastic bag. Spritz them lightly with water until damp but not dripping—you want the towels to feel like a wrung-out sponge. Arrange the soaked seeds about 1 inch apart in a single layer on one towel half, then fold the other half over them.
Real talk: Don't overlap seeds or they'll mold before sprouting. Place the sealed container or bag in a warm spot, like on top of your fridge or near a sunny windowsill (but not in direct sunlight yet). Check daily for moisture—if the towels dry out, spritz them again with a spray bottle.
⏰ Step 3: Monitor for Sprouts in 3-7 Days
Watch for tiny white sprouts to emerge from the seeds within 3-7 days. Healthy tomato seeds will show a ½-inch root first, followed by a small shoot. Count how many seeds sprout—this gives you a clear percentage of viable seeds for your planting plans. For example, if 8 out of 10 seeds sprout, you know you'll get strong starts.
If a seed develops mold or smells funky, toss it immediately. You'll also notice some seeds never sprout—this is normal, especially with older seed packets. Once sprouts reach ¼ inch in length, they're ready for planting in soil. I like to transfer them to damp paper towels again for a day or two before planting to prevent transplant shock.
🌿 Step 4: Prepare for Transplanting Viable Seeds
Fill small 2-3 inch deep pots with moist seed-starting mix and plant each viable seed ¼ inch deep, just below the soil surface. Gently press the soil around the seed to ensure good contact. Place the pots in a warm, bright spot (like under grow lights) and keep the soil consistently moist but not soggy.
Here's the thing—you'll see faster germination now that you've pre-tested viability. Most seeds will sprout within 5-10 days after planting, and you'll have a head start on the season. Thin seedlings to the strongest one per pot once they have two true leaves—this prevents competition and gives your plants room to grow.
Tips & tricks for stress-free tomato seed germination
This simple test saves you from planting seeds that won't sprout—here's how to make it even easier and more effective.
Water Temperature Tip: The 70°F lukewarm water in Step 1 is perfect for activating seeds without shocking them. If you don't have a thermometer, fill a bowl with warm tap water, let it sit for 5 minutes, then test with your wrist—it should feel pleasantly warm, not hot. Too hot water can actually damage the seed's delicate enzymes, so avoid boiling or scalding temperatures.
Seed Selection Strategy: Before starting, separate your seeds by size—larger, plumper seeds usually have higher viability. I also recommend testing seeds from different seed packets separately, as germination rates can vary significantly between varieties. This helps you plan your garden layout more effectively.
Moisture Management: In Step 2, the key is maintaining consistent moisture without creating a soggy environment. I use a spray bottle to mist the paper towels every 2-3 days instead of soaking them again. This prevents mold while keeping the seeds hydrated. If you notice condensation forming on the container, it's time to open it for 10 minutes to air out.
Transplanting Prep: When your sprouts reach ¼ inch in Step 4, give them a final moisture boost by placing them back on damp paper towels for 24 hours before transplanting. This extra hydration helps reduce transplant shock, giving your seedlings a stronger start in their new pots.
Pro Tips for Tomato Seed Germination
- This simple test saves you from planting seeds that won't sprout—here's how to make it even easier and more effective.
- Water Temperature Tip: The 70°F lukewarm water in Step 1 is perfect for activating seeds without shocking them. If yo...
- Seed Selection Strategy: Before starting, separate your seeds by size—larger, plumper seeds usually have higher viabi...
Frequently asked questions
Got questions about getting your tomato seeds ready for planting? You’re not alone! Here are some of the most common concerns—and their answers—to help you skip the guesswork and start growing with confidence.
How long does it take for tomato seeds to germinate?
Most tomato seeds sprout within 5–14 days when kept warm (70–85°F) and moist. Hybrid varieties often germinate faster (5–7 days), while heirlooms may take a little longer. If you don’t see sprouts after 2 weeks, check moisture levels or try a fresh batch—patience is key!
Can I germinate tomato seeds in the fridge?
Nope! Tomato seeds need warmth to germinate—not cold. Storing them in the fridge (for stratification) can actually slow them down or cause rot. Instead, keep them in a warm, humid spot (like on top of your fridge) until they sprout. Pro tip: Use a seedling heat mat for faster, more reliable results!
What if my tomato seeds won’t germinate? How can I troubleshoot?
Try these fixes if your seeds are being stubborn:
- Check viability: Soak a few seeds in water overnight—if they sink, they’re likely good. Floaters may be old or dead.
- Adjust moisture: Keep the soil damp (not soggy) and use a spray bottle to avoid disturbing seeds.
- Test temperature: If your space is too cold (<60°F), move seeds to a warmer spot or use a heat mat.
- Try scarification: Lightly sandpaper old or hard-coated seeds to help them absorb water.
Do I need to use special soil for germinating tomato seeds?
Not necessarily! A simple mix of 50% peat moss or coco coir + 50% perlite or vermiculite works great. Avoid garden soil—it can compact and harbor diseases. For extra cushioning, lay seeds on a damp paper towel first to kickstart germination before transplanting.
When is the best time to start tomato seeds indoors?
Timing depends on your climate, but a general rule:
- Cool climates: Start seeds 6–8 weeks before your last frost date.
- Warm climates: Begin 4–6 weeks before transplanting outdoors (when soil temps hit 60°F+).
Wrapping up and next steps
Mastering tomato seed germination is your first step toward a thriving garden! By testing viability before planting, you save time, resources, and the joy of watching tiny seeds transform into vibrant plants.
Whether you’re a beginner or a seasoned gardener, this simple process ensures you start strong—and that’s something to celebrate!
Ready to take the next step? Once you’ve confirmed your seeds are ready, grab your planting tools and dive into sowing with confidence. Happy growing—your future tomato harvest awaits! 🌱🍅