
Trees
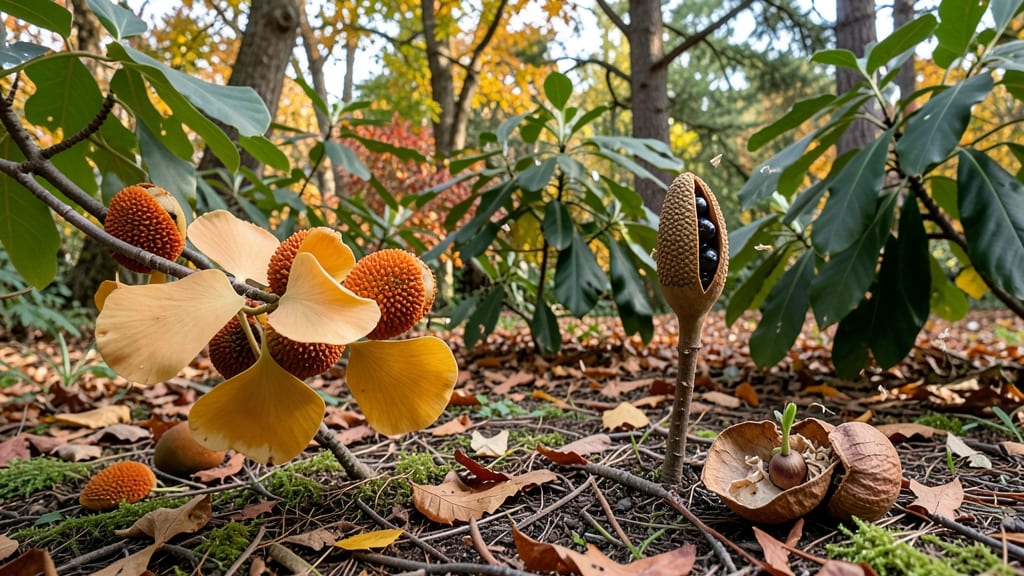
Cold stratification turns those dried-up seed pods into thriving saplings—here's how to break dormancy and get reliable germination. 🌱 I've struggled with stubborn tree seeds that refused to sprout until I cracked the stratification code, and now my oak and maple seedlings emerge like clockwork every spring.
The secret lies in mimicking nature's winter cycle: moisture, cold, then warmth. You'll need a simple setup—paper towels, plastic bags, and your fridge—plus patience, since some seeds like oaks need 60-90 days of cold treatment. No fancy equipment, just science you can do at home while you wait.
By the time you plant those prepped seeds in late winter, you'll see green shoots within 2-6 weeks, depending on the species. The first true leaves signal it worked—now you're growing a tree from a seed pod instead of buying a $20 sapling.
Works for oaks, maples, hickories, and even fruit trees. Here's the step-by-step method that finally gave me consistent results after years of trial and error.
📚 In This Guide
- What you need
- Instructions
- Tips and common mistakes
- Wrapping up and next steps
What you need
- ● Tree seed pods: Fresh or dried (ensure they’re viable—test by gently squeezing to check for seed presence). Quantity: 10–50 pods (depending on experiment scale).
- ● Paper towels or coffee filters: 2–4 sheets (unbleached, seed-safe).
- ● Plastic zip-top bags: Quart-sized (1–2 bags per batch).
- ● Water: Distilled or dechlorinated (to avoid chemical exposure).
- ● Labeling materials: Masking tape + permanent marker (to track seed types/dates).
- ● Refrigerator: With a temperature range of 34–40°F (1–4°C) (most home fridges work!).
- ● Planting containers: Seed trays, small pots, or even egg cartons (with drainage holes). Size: 2–4 inches deep.
- ● Potting mix: Well-draining, sterile mix (e.g., 50% peat moss + 50% perlite). Quantity: Enough to fill containers ¾ full.
- ● Humidity dome or plastic wrap: To maintain moisture during stratification.
- ● Thermometer: Fridge-safe (to monitor temperature consistency).
- ● Seed stratification kit: Pre-made kits with moisture meters (for advanced gardeners).
- ● Grow lights: LED or fluorescent (for post-stratification seedling care).
- ● Journal/notebook: To log progress (dates, moisture levels, germination rates).
How to cold stratify tree seed pods for guaranteed germination
Cold stratification tricks seeds into thinking winter’s over—here’s how to break dormancy reliably.
🌱 Step 1: Harvest and Clean the Seed Pods
Collect mature pods when they’ve dried on the tree but haven’t yet split open. Gently pry open any stubborn pods with a butter knife—don’t crush the seeds inside. Spread them on a paper towel to dry for 24-48 hours in a warm, shaded spot. This prevents mold while keeping seeds viable.
Once dry, separate the seeds from pulp or chaff. A fine-mesh strainer works well for sticky seeds like maple. Label each batch with the tree species and harvest date—some seeds lose viability after just 6 months if not properly stored.
❄️ Step 2: Moisten and Prep for Cold Treatment
Fill a quart-sized resealable bag (one per seed type) with 2-3 inches of dampened peat moss or coconut coir. The mix should feel like a wrung-out sponge—wet enough to hold moisture but not dripping. Sprinkle the seeds evenly over the mix, spacing them ½ inch apart to prevent crowding.
Seal the bag and place it in a refrigerator (not freezer) where temperatures stay between 35-45°F. This mimics winter’s natural chilling period. For most hardwoods, 6-12 weeks of stratification is ideal, but some species like oaks need up to 3 months. Check periodically—if mold appears, unbag and dry the seeds for 24 hours before resealing.
☀️ Step 3: Sow Stratified Seeds in Containers
After stratification, fill 4-inch pots with sterile seed-starting mix (never garden soil—it’s too dense). Plant seeds ½ inch deep, pressing lightly to ensure good soil contact. Water gently until moisture seeps from the drainage holes—this ensures consistent hydration without drowning roots.
Place pots in a warm, bright spot (65-75°F) with indirect light for the first 2 weeks. Overhead lights can scorch tender seedlings, so I use a sheer curtain to diffuse sunlight. Watch for first true leaves—they’ll appear 2-6 weeks after sowing, depending on the species. If nothing emerges after 8 weeks, the seeds may need another 4 weeks of stratification.
🌿 Step 4: Transplant and Care for Young Saplings
Once seedlings have 3-4 sets of leaves, they’re ready to move. Gently remove them from pots, tease apart any tangled roots, and transplant into 6-inch containers with fresh potting mix. Harden off seedlings by placing them outdoors in partial shade for 3-4 hours daily, gradually increasing exposure over 2 weeks. This prevents shock when they’re moved to the garden.
Water deeply once a week, letting the top 2 inches of soil dry between waterings. Overwatering is the #1 killer of young trees—yellowing leaves signal you’re keeping them too wet. Fertilize lightly with a balanced 10-10-10 mix at half strength when they’re 6 inches tall, but skip fertilizer for the first 3 months if you used high-quality potting mix.
Tips & tricks for perfect tree seed stratification
These little-known tricks will help you break dormancy like a pro—no more waiting years for germination.
Timing Secret: The 24-48 hour drying period in Step 1 is crucial—don't rush it! Place your pods on a mesh screen or paper towel in a single layer. If you notice any condensation forming, extend drying by another 12 hours. This prevents mold while ensuring seeds stay viable. For extra insurance, I like to place a small fan nearby to create gentle airflow, which speeds up drying without damaging delicate seeds.
Moisture Control: When preparing the dampened peat moss or coconut coir in Step 2, squeeze it firmly in your hand—water should drip out but not pool. Too much moisture creates anaerobic conditions that lead to mold, while too little prevents proper hydration. I've ruined batches both ways! For a quick test, press a handful: if water beads up on your skin, it's too wet. If it crumbles easily, add a little more moisture.
Species-Specific Strategy: Not all seeds need the same stratification time. While most hardwoods thrive with 6-12 weeks, oaks and walnuts often require the full 3 months. I keep a simple chart next to my fridge with species names and their ideal stratification periods. For unknown seeds, I err on the longer side—better to over-stratify than under-stratify. If you're unsure about your seed type, check a local forestry extension office or reliable online resource.
Lighting Hack: During the first 2 weeks after sowing in Step 3, I've found that placing pots under a simple LED grow light (just $20 at garden centers) gives more consistent results than natural light alone. Position it 6-8 inches above the pots and set a timer for 12 hours of light per day. This mimics spring conditions and prevents leggy seedlings that stretch toward weak sunlight. The key is keeping the light intensity moderate—too bright causes scorching, too dim causes stretching.
Pro Tips for Tree Seed Pods
- These little-known tricks will help you break dormancy like a pro—no more waiting years for germination.
- Timing Secret: The 24-48 hour drying period in Step 1 is crucial—don't rush it!
- Moisture Control: When preparing the dampened peat moss or coconut coir in Step 2, squeeze it firmly in your hand—water should drip out but not pool.
Frequently asked questions
Got questions about tree seed pods and cold stratification?
You’re not alone! Here are some of the most common queries—and their answers—to help you succeed with your germination project.
How long does cold stratification need to last for tree seed pods?
Most tree seed pods require 60–90 days of cold stratification (40–50°F) to break dormancy. Check your specific species—some, like maple or oak, need longer (up to 120 days), while others, like birch, may germinate faster (30–60 days). Pro tip: Use a moisture meter to keep soil damp but not soggy during stratification!
Can I skip cold stratification if I’m in a hurry?
Skipping stratification will likely fail for most tree seeds—it mimics winter conditions needed to trigger germination. However, some tropical species (like mango) don’t need it. For cold-hardy trees, try soaking seeds in warm water for 24–48 hours as a shortcut, but expect lower success rates. Patience pays off!
What’s the best way to monitor seed moisture during stratification?
Use a moisture meter (aim for 40–60% moisture) or the "squeeze test": lightly press the soil—it should feel damp like a wrung-out sponge, not dry or muddy. Overwatering causes mold; underwatering halts germination. A sealed container with a tiny ventilation hole (like a mesh lid) helps maintain humidity without rot.
Will tree seed pods still germinate if stored too long before stratification?
Freshness matters! Most seeds lose viability after 1–2 years of dry storage. If seeds are old (>3 years), test viability by cutting open a few—look for plump, firm interiors. For stubborn seeds, try scarification (lightly sanding the pod) or a warm stratification (70–80°F for 1–2 weeks) before cold treatment.
What if my seed pods mold during stratification?
Mold = too much moisture or poor airflow. Immediately unbag the seeds, let them dry in a shady spot for 24 hours, and repot in fresh, sterile medium (like perlite + peat moss). Add a fungicide (like hydrogen peroxide, 3%) to the water if repotting. Prevent mold by using a breathable container (like a mesh bag) and avoiding sealed plastic.
Wrapping up and next steps
From lotus seed pods to maple helicopters, mastering cold stratification unlocks the secret to turning tiny seeds into thriving trees! 🌱 Whether you’re a patient gardener or a curious nature enthusiast, these steps make germination simple and reliable.
Now that you’re equipped with the right materials and know-how, there’s no better time to start your own forest—one seed pod at a time.
Your next step? Grab those seed pods, follow your stratification plan, and watch nature’s magic unfold. Share your progress or tag us in your garden’s transformation—we’d love to see your green thumbs in action! 🌿✨