
Lawn
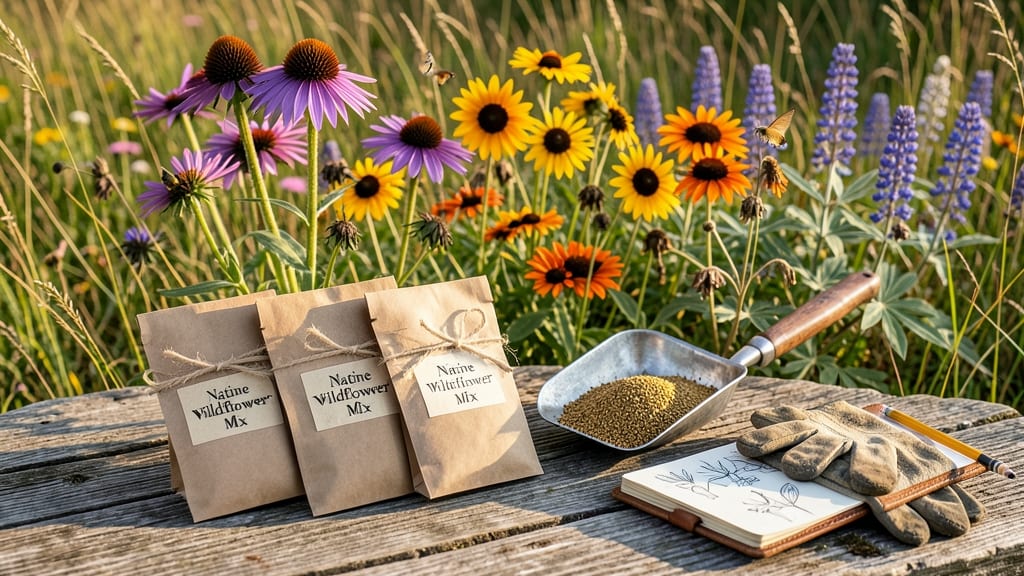
Your wild seed project starts with a single, stress-free decision: letting nature do the heavy lifting. 🌿 No more wrestling with tangled stems or fighting for every seed—just scatter, wait, and watch your yard transform into a pollinator paradise.
This isn’t just about pretty flowers; it’s about creating a self-sustaining ecosystem that thrives with minimal effort from you.
Planning begins with native seeds—the kind that already know your climate and soil. Skip the fancy garden center mixes and opt for regional blends that support local bees, butterflies, and birds. A sunny patch, even a small one, works perfectly.
Just rake the area, scatter the seeds in early fall or spring, and let the rain do the rest. No digging, no fuss—just pure, low-maintenance beauty.
By next summer, you’ll have a vibrant meadow of wild blooms that keep giving year after year. The best part? Once established, these plants need almost no care—just occasional watering and a single mow in late fall to prep for winter.
Your yard becomes a living habitat, not just a lawn.
This project scales from a 6-inch urban patch to an entire acre—ideal for urbanites, suburban homeowners, or rural land stewards. The only requirement? Patience. But trust me, the first time you see monarchs fluttering through your wildflowers, you’ll wonder why you ever mowed it all down.
📚 In This Guide
- What you need
- Instructions
- Tips and common mistakes
- Wrapping up and next steps
What you need
- ● Seed Collection Bags: 5–10 breathable, mesh or paper bags (1–2 gallon size) to prevent moisture buildup.
- ● Pruning Shears: Sharp, clean pair (sterilize with rubbing alcohol) for clean cuts.
- ○ Gloves: Heavy-duty gardening gloves (optional but recommended for prickly plants like thistles or blackberries).
- ● Labels & Permanent Marker: Waterproof labels + marker to tag seeds by plant type/year.
- ● Bucket or Tray: Large container for sorting seeds (10+ gallons).
- ● Drying Surface: Screen, cardboard, or newspaper in a dry, shaded spot.
- ● Notebook or App: For logging plant names, locations, and harvest dates (e.g., Seed Savers Exchange app).
- ● Seed Envelopes: For storing small seeds (e.g., wildflowers, herbs).
- ● Fine-Mesh Sieve: To separate chaff from tiny seeds (e.g., clover or dandelion).
- ● Vacuum Sealer: Extends seed viability for long-term storage.
- ● Camera: Snap photos of mature plants for future reference.
- ● Local Plant Guidebook: Identify native species if unfamiliar with your region’s flora.
Stress-free wild seed harvesting for next year’s blooms
Here’s how to collect seeds from your wildflowers without the usual frustration.
🌱 Step 1: Identify and Select Mature Seed Heads
Wait until seed pods turn brown or papery—this signals full maturity. I avoid picking when pods are still green or swollen, as seeds won’t be viable yet. For delicate wildflowers like black-eyed Susans or coneflowers, I check late summer to early fall when most blooms have faded.
Look for dry, crispy seed heads—they’ll crumble easily when touched. If pods feel moist or sticky, they’re not ready. Use a small mesh bag to catch seeds as you harvest, preventing loss from wind or dropping to the ground.
🌿 Step 2: Harvest with Precision to Preserve Viability
Snip seed heads with clean, sharp scissors just above the stem to avoid damaging the plant. I like to harvest on a dry, overcast day—this reduces moisture and prevents seeds from sticking to the stems or falling prematurely.
Place harvested heads in paper bags (not plastic) to allow airflow while drying. Label each bag with the plant name and date—this keeps things organized when sorting later. Avoid overcrowding bags, or seeds may spoil from trapped humidity.
💧 Step 3: Dry and Store Seeds Properly
Let seed heads dry in a cool, dark place for 2-4 weeks, flipping bags occasionally to prevent mold. I use a dehydrator on low heat for faster drying if I’m short on time—just monitor closely to avoid overheating.
Once fully dry, gently rub or shake seeds from pods into a bowl. Sift through the debris with a fine mesh strainer to separate pure seeds. Store them in airtight containers (like glass jars) in a cool, dry spot—seeds last longer this way.
⏰ Step 4: Test Germination Before Planting Next Year
Before sowing, I test a few seeds by pressing them into damp paper towels and sealing them in a plastic bag. Place the bag in a warm spot (around 70°F) and check for sprouts in 7-14 days. This confirms viability—if none sprout, try a different batch.
Once confirmed, plant seeds in well-draining soil at the depth suggested for the species. Most wildflowers prefer spring planting, but some (like poppies) do better in fall. Keep soil lightly moist until germination occurs.
☀️ Step 5: Maintain Seed Purity for Future Gardens
To avoid cross-pollination issues, I collect seeds from isolated plants or groups of the same variety. If harvesting from a mixed wildflower patch, separate seeds by species before storing. This ensures next year’s blooms stay true to type.
Label containers with the harvest year—older seeds lose viability faster. With proper storage, most wildflower seeds stay good for 1-3 years, though some (like milkweed) retain viability for decades.
Tips & tricks for wild seed harvesting success
These insider tricks will help you turn your wildflower patch into a seed-saving powerhouse without the usual headaches.
Timing is Everything: Harvest on a dry, overcast day to prevent seeds from sticking to stems or falling prematurely. Morning harvests work best—dew can make pods sticky, and afternoon heat might cause seeds to release too soon. I've learned this the hard way after losing entire batches to windy afternoons!
The Right Tools Make All the Difference: Use clean, sharp scissors (not pruners) to avoid crushing seed heads. I keep a small mesh bag clipped to my belt for instant collection—this prevents seeds from scattering when you cut. For delicate flowers like milkweed, consider using a paper envelope instead of a bag to catch tiny seeds.
Drying Strategy: While the 2-4 week drying period in a cool, dark place works perfectly, I've found that placing seed heads in a single layer on a screen or paper towel speeds up the process while preventing mold. Just flip them every few days to ensure even drying. For seeds that need extra care (like poppies), I use a dehydrator on low heat—just monitor closely to avoid overheating.
Germination Test Hack: When testing viability, place your damp paper towel setup in a clear plastic bag with a twist tie. This creates a mini greenhouse effect that speeds up germination—you'll often see sprouts in just 7 days instead of 14. The clear bag also lets you easily check progress without disturbing the seeds.
Pro Tips for Wild Seed Project
- These insider tricks will help you turn your wildflower patch into a seed-saving powerhouse without the usual headaches.
- Timing is Everything: Harvest on a dry, overcast day to prevent seeds from sticking to stems or falling prematurely. ...
- The Right Tools Make All the Difference: Use clean, sharp scissors (not pruners) to avoid crushing seed heads. I keep...
Frequently asked questions
What’s the best time to harvest seeds from my lawn?
Harvest seeds when the seed heads are fully dry and brown but before they shatter—usually late summer to early fall. Morning dew is your friend: collect after it dries to avoid mold. For wildflowers, aim for mid-to-late September in most regions. Pro tip: Use a seed head maturity chart for your specific plants!
How long does it take to collect enough seeds for next year’s lawn?
Timing depends on your lawn’s diversity, but most gardeners gather 1–2 pounds of mixed wild seeds in 2–4 hours. Dedicate a weekend morning to walk your property, focusing on dense clusters. Store seeds in paper bags (not plastic!) to prevent moisture buildup. Bonus: Team up with neighbors to cover more ground faster!
Can I use store-bought wildflower seeds instead of harvesting my own?
Store-bought seeds are a great backup if your lawn lacks diversity or yields too few seeds. Look for native seed mixes labeled for your region (e.g., “Prairie Blend” or “Meadow Mix”). Just note: harvested seeds may offer higher germination rates since they’re adapted to your local climate. Tip: Mix 50% harvested + 50% store-bought for insurance!
What if pests or birds eat my seeds before I can collect them?
Don’t panic! Use breathable mesh bags (like onion sacks) to shield seed heads while they dry. Hang bags from tree branches or lay them flat in a dry, shaded spot. For stubborn critters, try “bird-proofing” with netting over larger patches. Harvest early in the day when birds are less active.How do I store harvested seeds until planting?
Keep seeds in a cool, dark, dry place (like a sealed jar in the fridge) for up to 2 years. Label each bag with the plant name and harvest date. Avoid plastic—it traps moisture and causes rot. Pro move: Add a silica gel packet to your storage container for extra dryness!Wrapping up and next steps
The Wild Seed Project transforms stress into success—proving that saving seeds from your garden is simpler than you think! By following these steps, you’ve unlocked a sustainable way to nourish next year’s blooms while reducing waste. 🌱
Now’s your chance to take action: start small with just one plant, and watch your green thumb grow! Share your seed-saving wins with fellow gardeners or explore local seed libraries to dive deeper. The future of your garden is in your hands—literally! 🌿