
Propagation
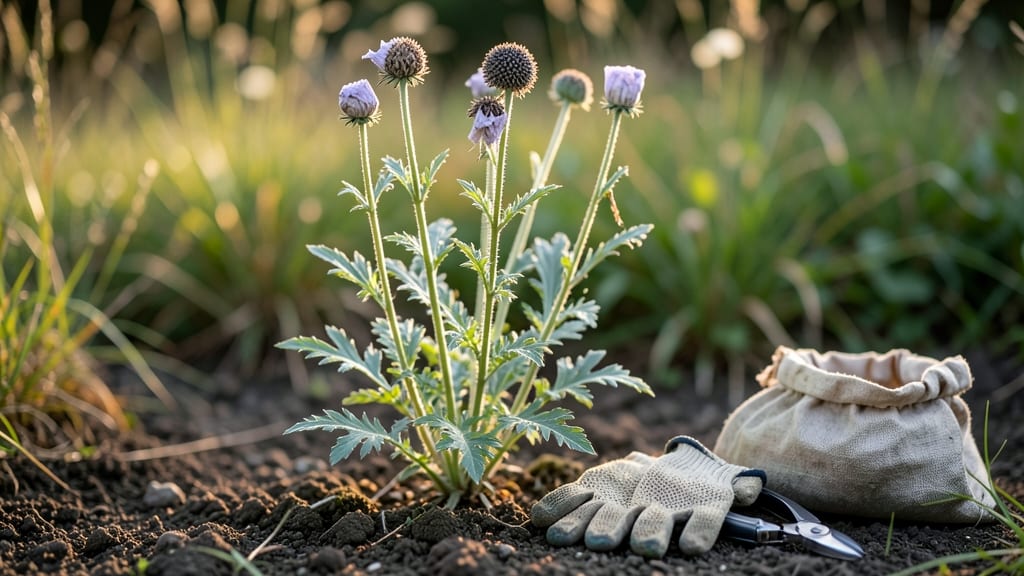
Growing breadseed poppy seeds from scratch means no more buying expensive seed packets—just twist-free pods that give you endless free seeds. 🌱 The secret lies in their unique pods that open naturally, spilling seeds onto the soil below, making them one of the easiest plants to propagate and save seeds from year after year.
These poppies thrive in well-draining soil and full sun, which means even beginners can grow them successfully. You’ll need a sunny spot, loose soil, and patience—because once established, they’ll reward you with stunning black or deep red blooms that attract pollinators.
The best part? You can harvest seeds from the pods before they twist open, ensuring a fresh supply for next season.
Within 6-8 weeks, you’ll see those first delicate blooms appear, followed by seed pods that take another 2-3 weeks to mature. The seeds themselves are tiny but mighty, perfect for sprinkling in gardens or even using in cooking—think of them as nature’s tiny, edible treasures.
Whether you’re growing them for their striking flowers or saving seeds for next year, breadseed poppies are a foolproof addition to any garden. Plus, they’re drought-tolerant once established, so they’re perfect for low-maintenance spaces. Ready to grow your own?
📚 In This Guide
- What you need
- Instructions
- Tips and common mistakes
- Wrapping up and next steps
What you need
- ● Breadseed poppy plants (at least 3-5 mature plants for a good seed yield; ensure they’re healthy and free of pests/diseases).
- ● Pruning shears or sharp scissors (clean, sterilized tools to avoid spreading pathogens).
- ● Paper bags or breathable mesh bags (enough to hold 1-2 pods per bag; avoid plastic to prevent moisture buildup).
- ● Drying rack or clean, flat surface (elevated and well-ventilated, like a wooden screen or baking sheet with parchment paper).
- ● Small containers or envelopes (for storing dried seeds; label with the date and variety).
- ● Fine-mesh sieve or sifter (to separate seeds from chaff easily).
- ● Notebook or digital notes app (to track seed varieties, harvest dates, and germination tests).
- ● Glass jars with tight-sealing lids (for long-term seed storage; add a silica gel packet to absorb moisture).
- ● Humidity pack or desiccant (to keep seeds dry and viable for years).
- ● Magnifying glass (for inspecting seed quality before storage).
- ○ Seed viability test kit (optional but handy for checking germination rates before planting).
- ● Garden twine or rubber bands (to secure pods to bags if they’re loose on the plant).
How to grow breadseed poppies for zero-waste seed harvesting
Skip the frustrating twist-and-pull method—these pods open naturally for effortless seed collection!
🌱 Step 1: Plant Seeds Directly in Well-Drained Soil
Scatter seeds ¼ inch deep in loose, well-drained soil—poppies hate soggy roots. I like to plant them in full sun (at least 6-8 hours daily) where they won’t compete with weeds. Space seeds 6-12 inches apart; they’ll self-sow aggressively if given room.
Lightly cover with soil and press gently—don’t pack it down. Poppy seeds need darkness to germinate, so keep the surface undisturbed. Water lightly just after planting (a fine mist is enough), then let nature take over. Overwatering now will rot those delicate seeds before they sprout.
☀️ Step 2: Let Plants Mature Without Disturbance
Poppies grow fast—4-6 weeks from seed to bloom—but resist the urge to fuss with them. They thrive on neglect! Once seedlings appear, water only when the top inch of soil feels dry, and never let them sit in standing water.
Here’s the magic: No deadheading needed. Let the flowers fade naturally on the stems. As they dry, the seed pods will form and open on their own—no twisting required. I often let a few plants bolt in early spring; their self-seeding creates a stunning, low-maintenance display.
⏰ Step 3: Harvest Seeds When Pods Turn Brown and Dry
The moment to collect arrives when pods turn papery brown and begin splitting open. On a dry day, hold a clean paper bag under the plant and give the pods a gentle shake. Seeds will rain into the bag—no mess, no frustration. Store seeds in a cool, dry place for up to 3 years without losing viability.
If you miss the perfect timing, don’t worry. Pods stay dry for weeks, so you can harvest in stages. Just avoid damp mornings—moisture makes seeds mold before you can collect them. A quick shake test (if seeds rattle inside, they’re ready) is foolproof.
🌿 Step 4: Save Seeds for Next Year’s Zero-Waste Garden
Poppy seeds are non-hybrid, meaning they reproduce true to type—your saved seeds will grow into identical plants. Label your seed packets with the year and variety (if mixing types). I tuck a few pods into my winter seed catalog for next spring’s planting.
For extra insurance, scatter a handful of seeds in a corner of your garden each fall. Poppies self-sow reliably, so you’ll have free plants popping up for years. Just thin extras to avoid overcrowding—these beauties spread fast!
Tips & tricks for perfect breadseed poppy cultivation
These clever strategies will transform your poppy patch from good to glorious—no fuss required!
Soil Secret: The key to happy poppies starts with soil prep. Before planting, mix in a handful of coarse sand or perlite into your garden bed to improve drainage—poppies despise soggy roots. I like to test my soil by squeezing a handful: if it holds its shape like Play-Doh, add more sand. This simple step prevents seed rot and ensures strong germination.
Sunlight Strategy: While poppies tolerate partial shade, they truly shine when given their full 6-8 hours of daily sun. If your garden gets less light, prioritize the sunniest spot and space plants 6-12 inches apart to prevent competition. I've seen poppies grow in partial shade, but their stems get leggy and flowers pale—nothing like the bold red blooms you get with proper sunlight.
Watering Wisdom: The first watering is critical—give seeds just a fine mist after planting, then let nature take over. After seedlings appear, only water when the top inch of soil feels dry. I've learned this the hard way: overwatering at any stage will drown those delicate seeds or cause seedlings to rot. Think of poppies as desert survivors—they thrive on neglect!
Harvest Hack: When pods turn papery brown, the best way to test readiness is the shake test. Hold a pod over a paper bag and give it a gentle shake—if seeds rain down, they're ready. For stubborn pods, place them in a paper bag and let them dry completely indoors for 24 hours before shaking. This trick works especially well for late-season harvests when pods dry slowly in damp weather.
Pro Tips for Breadseed Poppy Seeds
- These clever strategies will transform your poppy patch from good to glorious—no fuss required!
- Soil Secret: The key to happy poppies starts with soil prep.
- Sunlight Strategy: While poppies tolerate partial shade, they truly shine when given their full 6-8 hours of daily sun.
Frequently asked questions
about breadseed poppy seeds—because even the easiest plants have a few quirks! Here’s what you’ve been wondering:Can I grow breadseed poppies from store-bought seeds?
Yes! Store-bought breadseed poppy seeds (like those in bagels or granola) are not the same as ornamental poppy seeds—they’re edible and will grow into twist-free pods. Just make sure they’re organic or untreated to avoid chemicals. Pro tip: Toast them lightly in the oven first to boost germination rates!
How long do breadseed poppy pods take to mature?
From sowing to harvest, expect 8–12 weeks in ideal conditions (cool temps, full sun). Pods ripen when they turn brown and papery—don’t wait for them to split open! Harvest in the morning for the freshest seeds. Bonus: They’ll self-sow if left on the plant, so deadhead if you want to control where they pop up!
What if my pods twist or split before I can harvest?
Twisting is rare with breadseed poppies (unlike their ornamental cousins), but if it happens, it’s usually due to overcrowding or drought stress. Thin seedlings to 6–12 inches apart and mulch to retain moisture. For split pods, collect seeds immediately—they’ll scatter fast! Hot tip: Cover pods with breathable mesh if birds or wind are a problem.
Are breadseed poppy seeds safe to eat after growing them myself?
These seeds are non-toxic and packed with nutrients (fiber, calcium, and omega-3s ). Just ensure your plants weren’t sprayed with pesticides. Start with a small batch to test for flavor—some folks love the nutty taste, while others prefer them toasted or ground into flour.
What’s the best alternative if I can’t find breadseed poppy seeds?
Try these zero-waste, edible seed-saving options:
- Flax seeds (easy to grow, great for baking)
- Sunflower seeds (fast-growing, dual-purpose)
- Sesame seeds (compact plants, high yield)
Wrapping up and next steps
Breadseed poppy seeds offer a zero-waste, twist-free way to save seeds while adding a delicious, nutty crunch to your garden and kitchen! Their easy-to-harvest pods and versatility make them a fantastic choice for both beginner and experienced gardeners.
Whether you’re saving seeds for next year’s blooms or sprinkling them on salads, these little powerhouses deliver big rewards.
Ready to grow your own? Start by planting a few seeds this season—your future harvest (and taste buds) will thank you! 🌱✨