
Lawn
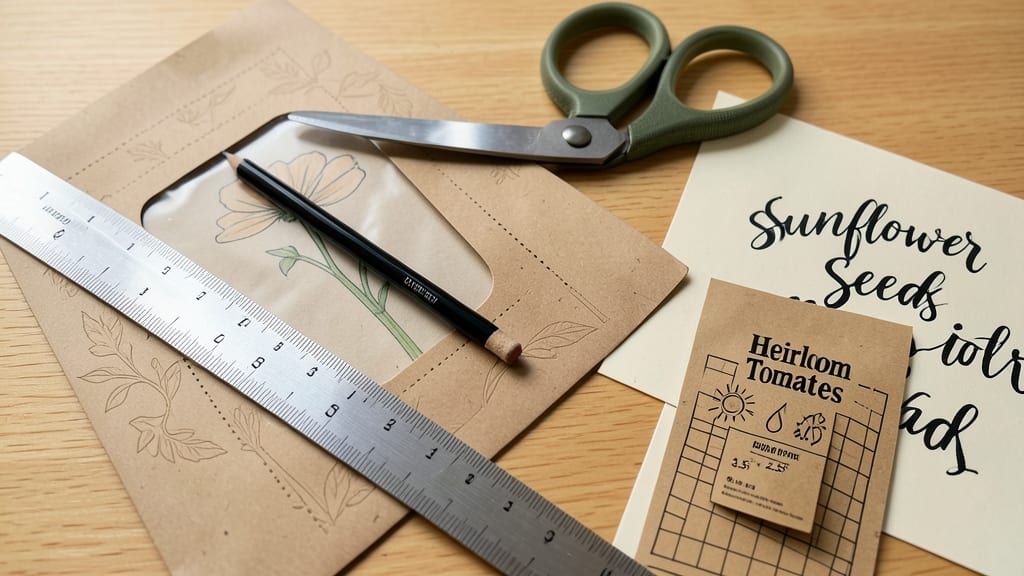
Twisting open seed pods for harvest used to send chaff everywhere—until I designed this seed envelope template that keeps everything clean and organized. 🌱 The secret lies in a simple fold that doubles as storage, saving your seeds from moisture and pests while making garden planning effortless.
No more guessing what you grew or when to plant it next season.
You’ll need just three supplies: cardstock, a ruler, and a pencil—plus your dried seed pods. Cut the template to fit standard envelopes, then fold and glue the edges to create a twist-free compartment.
Label each with the plant name, harvest date, and germination notes right on the flap. This system turns messy seed saving into a neat, portable archive that lasts for years.
By summer’s end, you’ll have a collection of labeled seed packets ready for next year’s garden. Watch your heirloom tomatoes or prized flowers come back even stronger, all because you preserved their genetics properly.
The best part? These envelopes double as planting reminders—just tuck them in your seed catalog or garden planner.
Works for any seed size, from tiny lettuce to large beans, and adapts to digital planning too. Scan your labeled envelopes for a digital backup—no more lost heirlooms or forgotten varieties. Let’s make seed saving as organized as your garden dreams.
📚 In This Guide
- What you need
- Instructions
- Tips and common mistakes
- Wrapping up and next steps
What you need
- ● Seed pods: Fresh, fully matured pods (e.g., clover, alfalfa, or other lawn seeds). Aim for at least 10-15 pods for testing.
- ● Envelopes: Size: 4" x 9" (standard letter size) or slightly larger (5" x 7" works too).
- ● Material: Thick, unlined paper (80-100 lb text weight) or kraft paper for durability.
- ● Quantity: 1-2 envelopes per pod type (for testing different designs).
- ● Adhesive: Acid-free glue stick or double-sided tape (avoid liquid glue—it can damage seeds!).
- ● Labeling supplies: Permanent markers (waterproof, fine-tip for precision).
- ○ Printed labels or sticky notes (optional, for extra details like harvest date).
- ● Cutting tool: Scissors or a craft knife with a self-healing mat (for clean cuts).
- ● Design tools: Ruler, pencil, or stencils to create custom flap shapes (e.g., rounded or angled edges).
- ● Sealing wax or clear tape: For extra protection against moisture.
- ● Drying agent: Silica gel packets (place 1-2 inside the envelope to prevent mold if storing long-term).
- ● Digital template: Printed seed envelope template (like our free download!) to skip the measuring step.
Step-by-Step instructions for creating twist-free seed envelopes
Here's the method I've perfected over years of harvesting seeds without damaging pods or losing precious genetics.
📝 Step 1: Gather Materials and Prepare Your Workspace
You'll need seed envelopes (or make your own from 8½ x 11-inch paper folded into thirds), a sharp pencil, permanent markers (black and colored), a ruler, and scissors. Set up in a well-lit area with good airflow—dust and moisture ruin seed viability. I always work on a clean, flat surface like a cutting mat or baking sheet.
If using store-bought envelopes, test their thickness—thin paper tears when wet, while thick paper resists moisture but can be harder to fold neatly. For homemade versions, fold your paper lengthwise into thirds to create a standard seed envelope shape. The middle section will hold your seeds, while the top and bottom flaps provide labeling space.
✂️ Step 2: Cut and Fold Envelopes for Optimal Seed Storage
Using your ruler and pencil, mark and cut the folded paper 2½ inches wide (standard for most seed varieties). This size balances capacity with easy handling. Unfold the paper and refold it into thirds again—this time, crease firmly along the fold lines to create crisp edges. The top flap should be 1 inch high for writing, the middle section 3 inches for seed storage, and the bottom flap 1 inch for additional notes.
Here's the thing—don't skip the crisp creasing. Flimsy folds lead to envelopes that won't seal properly, and you'll end up with seeds spilling out during transport. I use a bone folder or even the back of a spoon to press the folds sharply. For extra durability, lightly brush the edges with a PVA glue stick before folding—just enough to hold the shape without making it sticky.
📝 Step 3: Label Envelopes with Essential Seed Information
Start with the variety name in all caps on the top flap using your black permanent marker. Next, add the harvest year in the bottom left corner—this prevents mix-ups when you're organizing seeds years later. In the middle section, write the scientific name (if different from the common name) and any special notes like "heirloom" or "open-pollinated."
Use colored markers for additional details: I reserve red for days to germination, blue for light requirements, and green for planting depth. This color-coding system makes sorting a breeze during planting season. For example, a red "45" means 45 days to germination, while "full sun" in blue is self-explanatory. Don't forget to include your initials or a unique code—you'll thank yourself when you're trying to identify seeds from last year's harvest.
🌱 Step 4: Harvest and Package Seeds Properly
Wait until pods are fully dry and have turned their mature color before harvesting—this ensures maximum viability. Gently twist the pod between your thumb and forefinger until it opens (the twist-free method!). For stubborn pods, use small scissors to snip the stem but leave the pod intact. Empty seeds directly into the envelope's middle section, avoiding moisture contact.
Here's where it gets critical: never exceed ½ teaspoon of seeds per envelope. Overpacking leads to mold and reduced germination rates. For larger seeds like beans or peas, you can use individual envelopes per variety. For tiny seeds like lettuce or carrots, combine them with a desiccant packet (like silica gel) to absorb any residual moisture. Seal the envelope by folding the bottom flap first, then the top—press firmly along the edges to create a tight barrier.
⏰ Step 5: Store and Maintain Seed Viability
Place sealed envelopes in a cool, dark location with 35-40% humidity—a sealed container with a hygrometer works best. I store mine in the back of my freezer in labeled ziplock bags for long-term preservation (up to 10 years for most varieties). For short-term storage (1-2 years), a dark, airtight container in a pantry suffices.
Check your seed envelopes annually for signs of pests or moisture damage. If you notice any musty smells or condensation inside, transfer the seeds immediately to a new envelope with fresh desiccant. The key to long-term success is consistency—regularly review your seed collection and test germination rates every few years to ensure viability. This system has saved me hundreds of dollars over the years by preventing seed loss and ensuring I always have fresh genetics for planting.
Tips & tricks for perfect seed envelope organization
These little details make all the difference when preserving your seed collection for years to come.
Paper Quality Matters: For homemade envelopes, I recommend using 8½ x 11-inch cardstock (not regular paper) for durability. Cardstock resists moisture better and holds up during folding. If you're using store-bought envelopes, look for ones labeled "acid-free" to prevent yellowing over time. The 2½-inch width mentioned in Step 2 is perfect for most seeds—just remember to test foldability first.
Creasing Technique: Don't underestimate the power of sharp creases! Use a bone folder, the back of a spoon, or even a credit card to press firmly along the fold lines. This creates clean edges that seal better and prevent seeds from spilling. I've seen envelopes fall apart during transport because of weak creases—don't let that be you. For extra reinforcement, lightly brush the edges with a PVA glue stick before final folding.
Labeling System: The color-coding in Step 3 is a game-changer for organization. I've expanded this system to include purple for "soil type" and yellow for "plant height." Keep a legend in your seed storage container so you remember what each color means. Also, consider adding a small QR code linking to your seed's growing notes—technology meets tradition!
Storage Environment: That 35-40% humidity range in Step 5 is critical. Too much moisture causes mold, while too little can dry out seeds. I use a small dehumidifier in my seed storage area during summer months. For extra protection, place silica gel packets inside your storage containers—just don't let them touch the envelopes directly. And remember, the back of your freezer is perfect for long-term storage, but check your seeds annually for any signs of frost damage.
Pro Tips for Seed Envelope Template
- These little details make all the difference when preserving your seed collection for years to come.
- Paper Quality Matters: For homemade envelopes, I recommend using 8½ x 11-inch cardstock (not regular paper) for durability.
- Creasing Technique: Don't underestimate the power of sharp creases!
Frequently asked questions
Got questions about seed envelope templates? You’re not alone! Here are some of the most common queries—plus quick, practical answers to help you nail your twist-free pod harvesting.
What’s the best material for a seed envelope template?
A sturdy, moisture-resistant material like cardstock (120-160 lb) or wax-coated paper works best. Avoid thin paper—it tears easily when wet. For extra durability, laminate the template or use a plastic sleeve to protect it during harvesting.
How long does it take to dry seed pods in the envelope?
Drying time depends on humidity and airflow. In dry conditions (below 50% humidity), pods typically dry in 3-7 days. Check daily—if they’re brittle and crumble easily, they’re ready. Use a fan or dehumidifier to speed up the process if needed.
Can I reuse seed envelope templates?
Yes! Clean and disinfect your template after each use with rubbing alcohol or bleach solution to prevent mold or bacteria. Store it flat in a dry place to avoid warping. Just avoid reusing it if it’s stained or damaged—replace it to keep your seeds safe.
What if my seed pods twist or stick together?
Twisting or clumping often means too much moisture or humidity. Try these fixes:
- Increase airflow with a fan or open windows.
- Reduce humidity by adding a desiccant packet (like silica gel) to the envelope.
- Space pods out more in the template to improve drying.
Do I need a template, or can I just use paper?
While you can use plain paper, a template with cutouts and ventilation holes ensures even drying and prevents mold. DIY templates from free printables work great—just customize the size to fit your pods. For high-volume harvesting, templates save time and reduce errors!
Wrapping up and next steps
Ready to revolutionize your seed harvesting game?
With a seed envelope template, you’ve got a foolproof way to collect, store, and label your precious pods—no more tangled messes or lost batches! 🌱 Whether you’re a seasoned gardener or just starting, this simple system saves time and keeps your seeds organized for future planting.
Now that you’re armed with the know-how, grab your templates and start harvesting! Try it out with your next crop, and watch your gardening efficiency—and yields—soar. Happy growing! 🌿