
Propagation
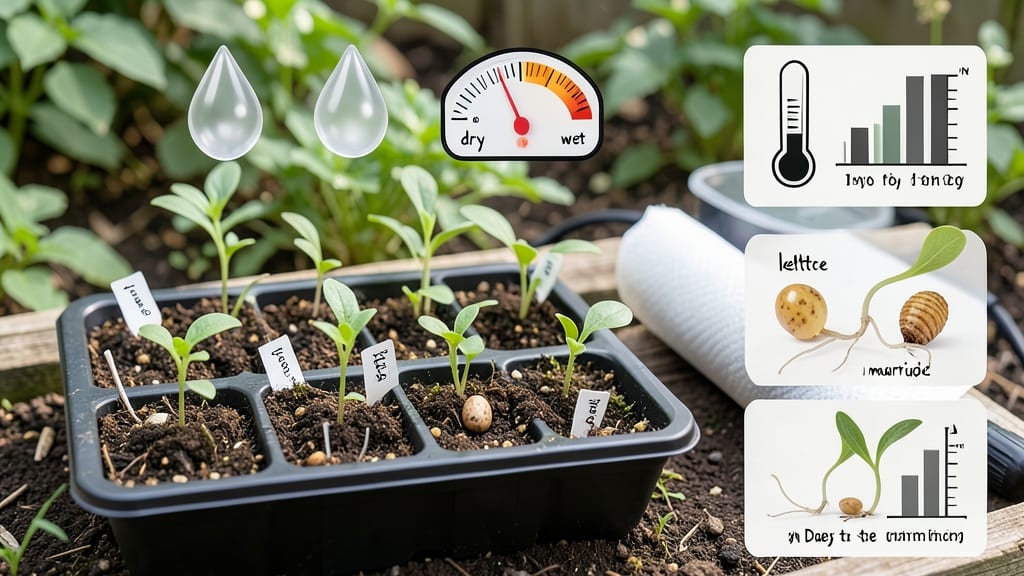
A seed germination chart is your secret weapon for turning patience into productivity. 🌱 I’ve used mine to go from guessing when sprouts would appear to knowing exactly when to expect them—sometimes within days, not weeks.
The difference between a thriving seedling tray and a sad, moldy mess often comes down to matching your conditions to what the seed actually needs.
Most charts break down three critical factors: temperature ranges (warm vs. cool), moisture levels (damp but not soggy), and days to germination (from 3 days for radishes to 30+ for some herbs).
Tomatoes and peppers, for example, sprout fastest in warm soil—around 75-85°F—while peas and lettuce prefer cooler 60-70°F spots. Ignore these, and you’re basically rolling the dice with your seeds.
By the end of this, you’ll spot the warning signs of slow germination (like wrinkled seeds or mold) and adjust before it’s too late. Fast-germinating seeds like beans give you quick wins to build confidence, while slow starters like parsley teach you the power of persistence.
The right chart turns seed starting from a gamble into a predictable process.
Whether you’re a first-timer or a seasoned grower tweaking your setup, this isn’t just about charts—it’s about cutting the guesswork so you can focus on what matters: watching those first green hooks break through the soil. Let’s get those seeds talking to you instead of playing hide-and-seek.
📚 In This Guide
- What you need
- Instructions
- Tips and common mistakes
- Wrapping up and next steps
What you need
- ● Seeds: Choose fresh, high-quality seeds (quantity depends on your experiment—start with 10–20 per type).
- ● Germination containers: Seed trays (6–12 packs) or
- ● Small pots (3–4 inches deep) or
- ● Paper towels + ziplock bags (for quick-start methods).
- ● Growing medium: Seed-starting mix (sterilized, peat-free preferred) or
- ● Coco coir pellets (for moisture retention).
- ● Watering tools: Spray bottle (fine mist setting) or
- ● Dropper (for precision).
- ● Heat source: Heating mat (70–85°F range) or
- ● Warm location (e.g., near a sunny window or fridge top).
- ○ Humidity dome or plastic wrap: To retain moisture (optional but highly recommended for delicate seeds).
- ● Notebook or germination chart template: To log daily progress (download ours here!).
- ● Grow lights: LED or fluorescent (12–16 hours/day once sprouts emerge).
- ● pH test kit: To monitor soil acidity (ideal range: 6.0–7.0).
- ● Humidity tray: For consistent moisture levels.
- ● Timer: To automate light cycles (if using grow lights).
- ● Seedling labels: To track varieties (toothpicks + masking tape work too!).
How to use a seed germination chart for faster, healthier sprouts
Here's how I use germination charts to predict—and control—when seeds will sprout.
🌱 Step 1: Understand Your Seed's Ideal Conditions
Every seed has a sweet spot for temperature, moisture, and light. Check your germination chart for these specifics—most seeds need 65-75°F soil temperatures to sprout reliably. Cool-season crops like lettuce and peas germinate best at 55-65°F, while tropical seeds like beans and cucumbers prefer 75-85°F.
Light requirements vary too: some seeds (like tomatoes) need darkness to germinate, while others (like basil) sprout faster with light. Your chart will tell you whether to cover seeds or keep them exposed. I always double-check this before planting—skipping this step leads to slow or uneven germination.
⏰ Step 2: Track Germination Timeframes
Germination charts list expected days to sprout, but real-world conditions can shift timelines. Fast germinators like radishes and arugula sprout in 3-7 days, while slow ones like parsley or lavender can take 2-4 weeks. Use the chart as a baseline, but adjust for your environment—cool rooms or dry soil slow things down.
I mark my calendar with the earliest and latest expected sprouting dates. For example, if my chart says "5-10 days" for basil, I won’t panic at day 12. But if nothing emerges by day 14, I’ll troubleshoot moisture or temperature. Patience is key—some seeds just need more time.
💧 Step 3: Monitor Moisture and Adjust as Needed
Consistent moisture is non-negotiable. Most seeds need soil that feels like a damp sponge—not soggy, not dry. Your germination chart might specify "keep evenly moist" or "light watering." I use a spray bottle for delicate seeds and a watering can for heartier ones, ensuring the top inch of soil stays damp but not waterlogged.
Watch for signs of stress: if the soil surface dries out too fast, your seeds may not get enough water to break through. Conversely, overwatering can suffocate seeds or cause rot. A simple touch test works best—I press my finger into the soil; if it feels dry, it’s time to water again.
☀️ Step 4: Provide the Right Light Conditions
Some seeds need darkness to germinate, while others thrive with light. Your chart will specify whether to cover seeds with soil or leave them exposed. For example, carrots and onions need darkness to sprout, so I press them just below the soil surface. Meanwhile, seeds like lettuce and spinach can handle light, so I scatter them on top.
Once seeds sprout, most need light to grow strong. I use a grow light or place trays near a sunny window, ensuring seedlings don’t stretch leggy. If they start leaning toward the light, it’s time to adjust their position or supplement with artificial light.
✂️ Step 5: Troubleshoot Common Delays
If seeds aren’t sprouting on schedule, check three things: temperature, moisture, and seed viability. I’ve had seeds fail because the soil was too cold or dry. A simple fix is to move the tray to a warmer spot or mist the soil lightly. For old seeds, germination rates drop—always check the seed packet’s expiration date.
Damping-off (a fungal disease) can also kill seedlings before they sprout. To prevent it, I avoid overwatering and ensure good airflow. If you see black, mushy stems, remove affected seedlings immediately and reduce watering. Your germination chart won’t mention this, but it’s a common pitfall worth knowing.
Tips & tricks for perfect seed germination
Mastering your germination chart means understanding the little details that make all the difference between thriving sprouts and wasted seeds.
Temperature Precision: The 65-75°F range is your sweet spot, but don't just guess—use a soil thermometer to verify. I keep my seed trays on a heat mat set to 70°F for consistent results. For cool-season seeds, a sunny windowsill might be too warm—move them to a cooler spot if your chart specifies 55-65°F. Tropical seeds like beans? I've found placing them near a south-facing window with afternoon sun helps maintain that 75-85°F range without overheating.
Light Strategy: Here's what nobody tells you—some seeds actually germinate faster when kept in darkness during the first 24-48 hours. Check your chart for specific needs, but for most light-loving seeds, I use a simple trick: place a sheet of black paper over the tray for the first 2 days, then remove it. This mimics natural soil conditions while preventing leggy seedlings.
Moisture Management: The "damp sponge" test is your best friend. After watering, press your finger into the soil—it should hold its shape but leave a slight indentation. I've ruined batches by either overwatering (which causes rot) or underwatering (which prevents sprouting). For delicate seeds, I use a spray bottle with room-temperature water to avoid shocking them. Pro tip: Water in the morning so excess moisture can evaporate during the day.
Troubleshooting Delays: If your seeds aren't sprouting within the chart's timeframe, don't panic—just check these three things first. First, verify your soil temperature with a thermometer (I've had seeds fail because my basement was too cold). Second, gently press a seed between your fingers—if it's hard, it might be old or non-viable. Third, check for mold or fungal growth, which can inhibit sprouting. I've had great success with a 10-minute soak in diluted hydrogen peroxide (1 part peroxide to 10 parts water) to prevent damping-off before planting.
Pro Tips for Seed Germination Chart
- Mastering your germination chart means understanding the little details that make all the difference between thriving sprouts and wasted seeds.
- Temperature Precision: The 65-75°F range is your sweet spot, but don't just guess—use a soil thermometer to verify.
- Light Strategy: Here's what nobody tells you—some seeds actually germinate faster when kept in darkness during the first 24-48 hours.
Frequently asked questions
about seed germination can help clarify doubts and set you up for success! Here are answers to common queries to ensure your seeds sprout like a pro.How long does it typically take for seeds to germinate?
The germination time varies wildly by plant type—check your seed germination chart for specifics! Fast sprouters (like radishes or lettuce) may appear in 3–7 days, while slow growers (such as okra or some trees) can take 2–4 weeks. Keep conditions consistent—warmth, moisture, and darkness (for most seeds) are key!
What if my seeds aren’t germinating after the expected time?
Don’t panic! First, check moisture levels—seeds need consistent dampness (not soggy). Next, verify temperature (most seeds thrive at 65–85°F). If using old seeds, viability drops after 1–5 years (test a few in a damp paper towel). For stubborn seeds, try scarification (lightly sanding the seed coat) or a cold stratification period.
How often should I water seeds during germination?
Keep the soil moist but not waterlogged—aim for a light misting every 1–2 days (or when the top inch feels dry). Overwatering can suffocate seeds or cause rot, while underwatering halts germination. A self-watering tray or humidity dome helps maintain ideal conditions without guesswork!
Can I speed up germination with heat?
Yes! Many seeds germinate faster with warmth—place trays on a seedling heat mat (70–85°F) or near a sunny window. Tropical plants (like basil or peppers) love heat, while cool-season crops (spinach, carrots) may rot if overheated. A bottom-heating method mimics natural soil warmth and boosts success rates by 30–50%!
What’s the best alternative if my seeds refuse to sprout?
If germination fails, try transplanting seedlings (buy starter plants from a nursery) or propagating from cuttings (for plants like mint or coleus). For heirloom varieties, consider saving seeds from healthy plants next season. If all else fails, experiment with hydroponic germination—some seeds sprout faster in water with nutrients!
Wrapping up and next steps
Understanding your plants’ germination needs through a seed germination chart is your secret weapon for success! 🌱 Whether you’re a seasoned gardener or just starting, knowing the right conditions—like temperature, moisture, and light—can transform your sprouting game.
Now that you’re armed with this knowledge, it’s time to put it into action.
Start small—pick one or two seeds to experiment with using your newfound insights. Track their progress, adjust conditions as needed, and soon, you’ll be growing a thriving garden with confidence. Happy planting! 🌿