
Lawn
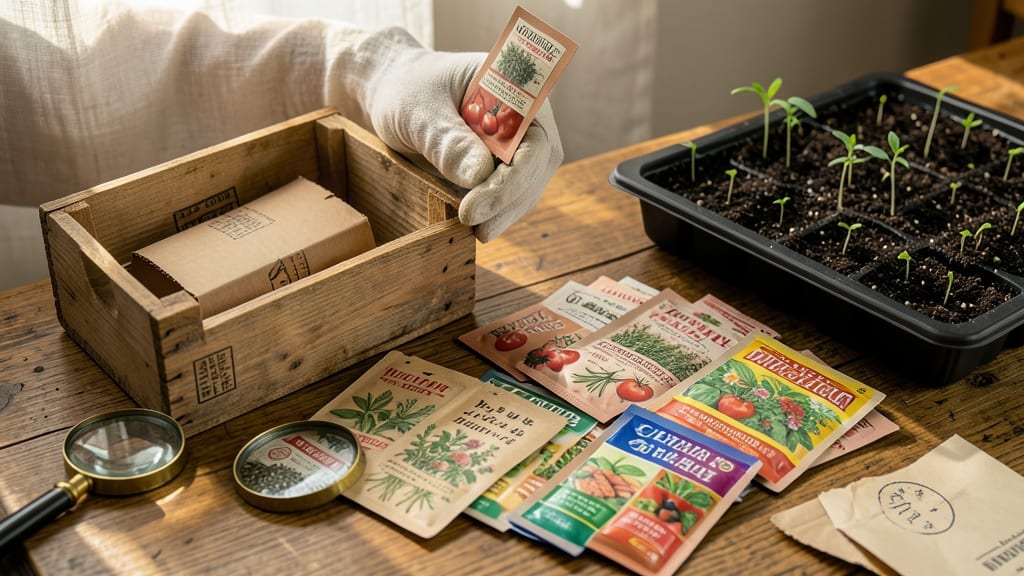
Unsolicited seed packages arrive like mysterious garden invitations—except you never asked for the guest list. 🌱 I’ve received at least a dozen over the years, and every time, I panic: What if these are invasive weeds? The good news? A simple twist-free viability check can save you from future headaches.
Start by examining the seed packages for any labels or markings. If they’re blank or unclear, treat them as potential troublemakers. Place each package in a sealed plastic bag and refrigerate for 7-10 days.
This mimics winter conditions and reveals which seeds will sprout—if they do, you’ll know exactly what to watch for next spring. The real trick is preventing spread. Once you identify viable seeds, toss them in the trash (not the compost!) and clean your tools with rubbing alcohol.
A quick garden sweep with a rake or leaf blower removes any stray seeds already lurking in the soil. This method works for any unwanted seeds, whether they’re from mystery packages or last year’s volunteers.
Next time you spot an unfamiliar plant popping up, you’ll know exactly how to handle it—before it takes over.
📚 In This Guide
- What you need
- Instructions
- Tips and common mistakes
- Wrapping up and next steps
What you need
- ● Unsolicited seed packets: All mystery seeds you’ve received (no need to open them yet!)
- ● Paper towels or coffee filters: 2–3 sheets per seed type (or 1–2 sheets if testing multiple seeds at once)
- ● Plastic zip-top bags: Small, resealable (1 per seed type or 1 shared bag for bulk testing)
- ● Water spray bottle: Fine mist setting (avoid soaking seeds)
- ● Permanent marker: To label bags with seed type/dates
- ○ Notebook or phone: For tracking germination progress (optional but helpful!)
- ● Seedling trays or small pots: For transplanting viable seeds later
- ● Grow lights or sunny windowsill: If natural light is limited
- ● Humidity dome or plastic wrap: To create a mini greenhouse effect
- ● Magnifying glass: For inspecting tiny seeds or spotting mold
- ● Thermometer: To monitor ideal germination temps (65–75°F is ideal for most seeds)
How to test unsolicited seed packages for germination success
Skip the guesswork—this simple twist-free method tells you which mystery seeds are worth saving.
🌱 Step 1: Collect and Prepare the Seeds
Empty the seed packets into a clean, dry container. I use a shallow tray or small bowl to spread them out—this helps me spot any obvious debris or damaged seeds. Remove any empty seed pods, husks, or foreign matter by hand. You’ll want only the intact, plump seeds for testing.
For seeds with hard outer coatings (like some wildflowers), a quick soak in lukewarm water for 12 hours softens the shell and speeds up the process. Place them in a bowl of water, then drain and pat dry before testing. This step isn’t necessary for all seeds, but it’s worth the extra minute if you’re unsure.
💧 Step 2: Perform the Paper Towel Germination Test
Line a shallow dish or plate with a damp paper towel—just moist enough that it doesn’t drip, but not soaking wet. I fold the towel in half to create a thick layer, then unfold it to cover the bottom of the dish. Arrange the seeds in a single layer, spacing them about ½ inch apart so they don’t touch.
Cover the dish with another paper towel or plastic wrap to retain moisture, then place it in a warm spot, like on top of the fridge or near a sunny window. Check daily for signs of sprouting—you’ll see tiny roots or a slight swelling in the seed within 3-7 days. This is your first clue that the seeds are viable.
☀️ Step 3: Monitor and Record Results
After 7 days, count how many seeds have sprouted. I like to mark each seed with a toothpick or gently write on the dish with a pencil to track progress. If 50% or more of the seeds have sprouted, they’re worth saving for planting next year. If fewer than 25% sprout, the seeds may be too old or damaged to rely on.
Watch for mold or foul odors—these are red flags. If you see either, discard those seeds immediately. A healthy test should smell neutral and look clean, with only the seeds themselves showing signs of life. This step ensures you’re not wasting time or space on seeds that won’t grow.
⏰ Step 4: Store Viable Seeds Properly
For seeds that passed the test, place them in a small envelope or airtight container. I add a packet of silica gel or a few grains of uncooked rice to absorb excess moisture—this keeps them dry and prevents rot. Label the container with the seed type and the date, so you remember what you’re planting next spring.
Store the container in a cool, dark place, like a pantry or basement. Seeds stored this way can stay viable for 1-3 years, depending on the type. Check them again in a year by repeating the paper towel test—some seeds lose viability over time, even if they passed the first test.
Tips & tricks for testing unsolicited seed packages
These little-known tricks will help you get the most accurate results from your seed viability test.
Prep Like a Pro: In Step 1, don't rush the cleanup—take an extra minute to remove every empty pod or damaged seed. I once tested a batch where I missed a few husks, and they caused mold in the test dish. Use a small paintbrush or tweezers to pick out debris without damaging the good seeds. This attention to detail makes all the difference in getting clean results.
Soaking Strategy: When using the optional 12-hour soak for hard-coated seeds in Step 1, use lukewarm water—not hot. Hot water can actually damage some seed coatings. After soaking, pat them completely dry with a paper towel before testing. Damp seeds can develop mold during the test, which will ruin your results. I've learned this the hard way with sunflower seeds!
Layering Matters: In Step 2, when creating your paper towel layers, make them thick enough to hold moisture but not so thick they trap heat. I fold the towel twice lengthwise to create a 4-layer base—this gives enough cushion for roots to emerge while still allowing airflow. Too thin, and seeds dry out; too thick, and they suffocate. The perfect balance is key for accurate germination rates.
Lighting Tip: For Step 2, place your test dish near a warm spot with indirect light—like on top of your fridge. Direct sunlight can overheat the seeds, while too little light means slower germination. I've seen tests where seeds sprouted unevenly because of inconsistent lighting. A simple kitchen timer reminder to check daily keeps you on track for those critical first signs of life.
Pro Tips for Unsolicited Seed Packages
- These little-known tricks will help you get the most accurate results from your seed viability test.
- Prep Like a Pro: In Step 1, don't rush the cleanup—take an extra minute to remove every empty pod or damaged seed.
- Soaking Strategy: When using the optional 12-hour soak for hard-coated seeds in Step 1, use lukewarm water—not hot.
Frequently asked questions
Got questions about those mysterious seed packages that arrive unasked for? You’re not alone! Here’s a quick guide to the most common curiosities—because even unsolicited seeds deserve a little clarity.
Are unsolicited seed packages actually viable?
Most are! While some may be outdated or low-quality, many unsolicited seed packets contain perfectly good seeds. Check the expiration date (if listed) and test germination by planting a few—if they sprout, you’ve got winners. Pro tip: Store seeds in a cool, dry place to extend their shelf life.
When’s the best time to plant unsolicited seeds?
Timing depends on the seed type. Check the packet (if included) for planting instructions—usually, spring or fall works best for most flowers and herbs. For vegetables, follow seasonal guidelines (e.g., tomatoes thrive in warm soil). If unsure, opt for direct sowing in early spring for hardy annuals.
Can I sell or trade unsolicited seeds?
Legally, yes—but ethics matter! If the seeds are unbranded or lack clear ownership info, assume they’re free for planting. However, avoid selling seeds from commercial brands without permission. For trading, stick to open-pollinated varieties (like heirloom tomatoes) to keep things fair and fun.
What if my unsolicited seeds don’t grow?
Don’t toss them yet! Poor germination could mean old seeds, improper storage, or wrong conditions. Try soaking seeds overnight, planting deeper (or shallower), or adjusting sunlight/water. If all else fails, use them as compost starter—even "failed" seeds enrich soil!
Are there eco-friendly ways to dispose of unwanted seeds?
Skip the trash—compost them (they’ll break down naturally) or share with neighbors who garden. For invasive species (rare but possible), research local regulations before planting. Bonus: Some seeds, like milkweed, support pollinators—plant them intentionally!
Wrapping up and next steps
Unsolicited seed packages can be a gardener’s delight—just make sure they’re viable before planting!
By testing germination rates and storing seeds properly, you’ll set yourself up for a blooming success next season. 🌱 Don’t let mystery seeds go to waste—put your newfound knowledge to work and transform those unexpected packages into vibrant garden additions.
Next step: Grab those seeds, run your twist-free test, and start planning your dream garden layout today! 🌸